LATC's Robot Games is a culminating event for students to show the skills they have learnt over their two year schooling in the Robotics program. The goal of the games it to design and build a robot from scratch with their teammate that is capable of completing all of the events. This year's robot games includes the following events: Autonomous Course Following, Basketball, Robot Mini Golf, Hill Climb, Nut on a Bolt, and Pick and Place.
The theme for the 2024 Robot Games is:
Below is a complete CAD Model of the Clockwork Coalition Robot. All of the parts that were 3D modeled and printed by us are included in the model, and the parts that were bought are modeled in a smiplistic form, possibly missing some small details.
Note: If viewing on mobile, switching to landscape mode can help with viewability of the model.
Use the left mouse button to rotate the model, the right mouse button to move the camera, and the scroll wheel to zoom.
We started Robot Games with a $200 budget, and spent $186.28 of it on parts and supplies we could not source at The Lab.
| Item | Price |
|---|---|
| Bungey Cord (x10) | $7.49 |
| Acetone | $6.99 |
| Dremel Bits | $3.59 |
| 1/2" x 36" Round Rod (x2) | $27.59 |
| 48 x 540 Belt | 27.58 |
| Lucas Red N' Tacky | $6.99 |
| 1/4" x 36" Threaded Rod | $3.49 |
| 1/2" x 12" Threaded Rod | $4.79 |
| Super Glue | $4.49 |
| Double Sided Tape | $1.99 |
| Quick Connect Air Fittings | $18.46 |
| 25ft LED Strip | $21.23 |
| Stepper Motor Drivers (x4) | $30.68 |
| 6 Wire Slip Joint | 20.92 |
| TOTAL | $186.28 |
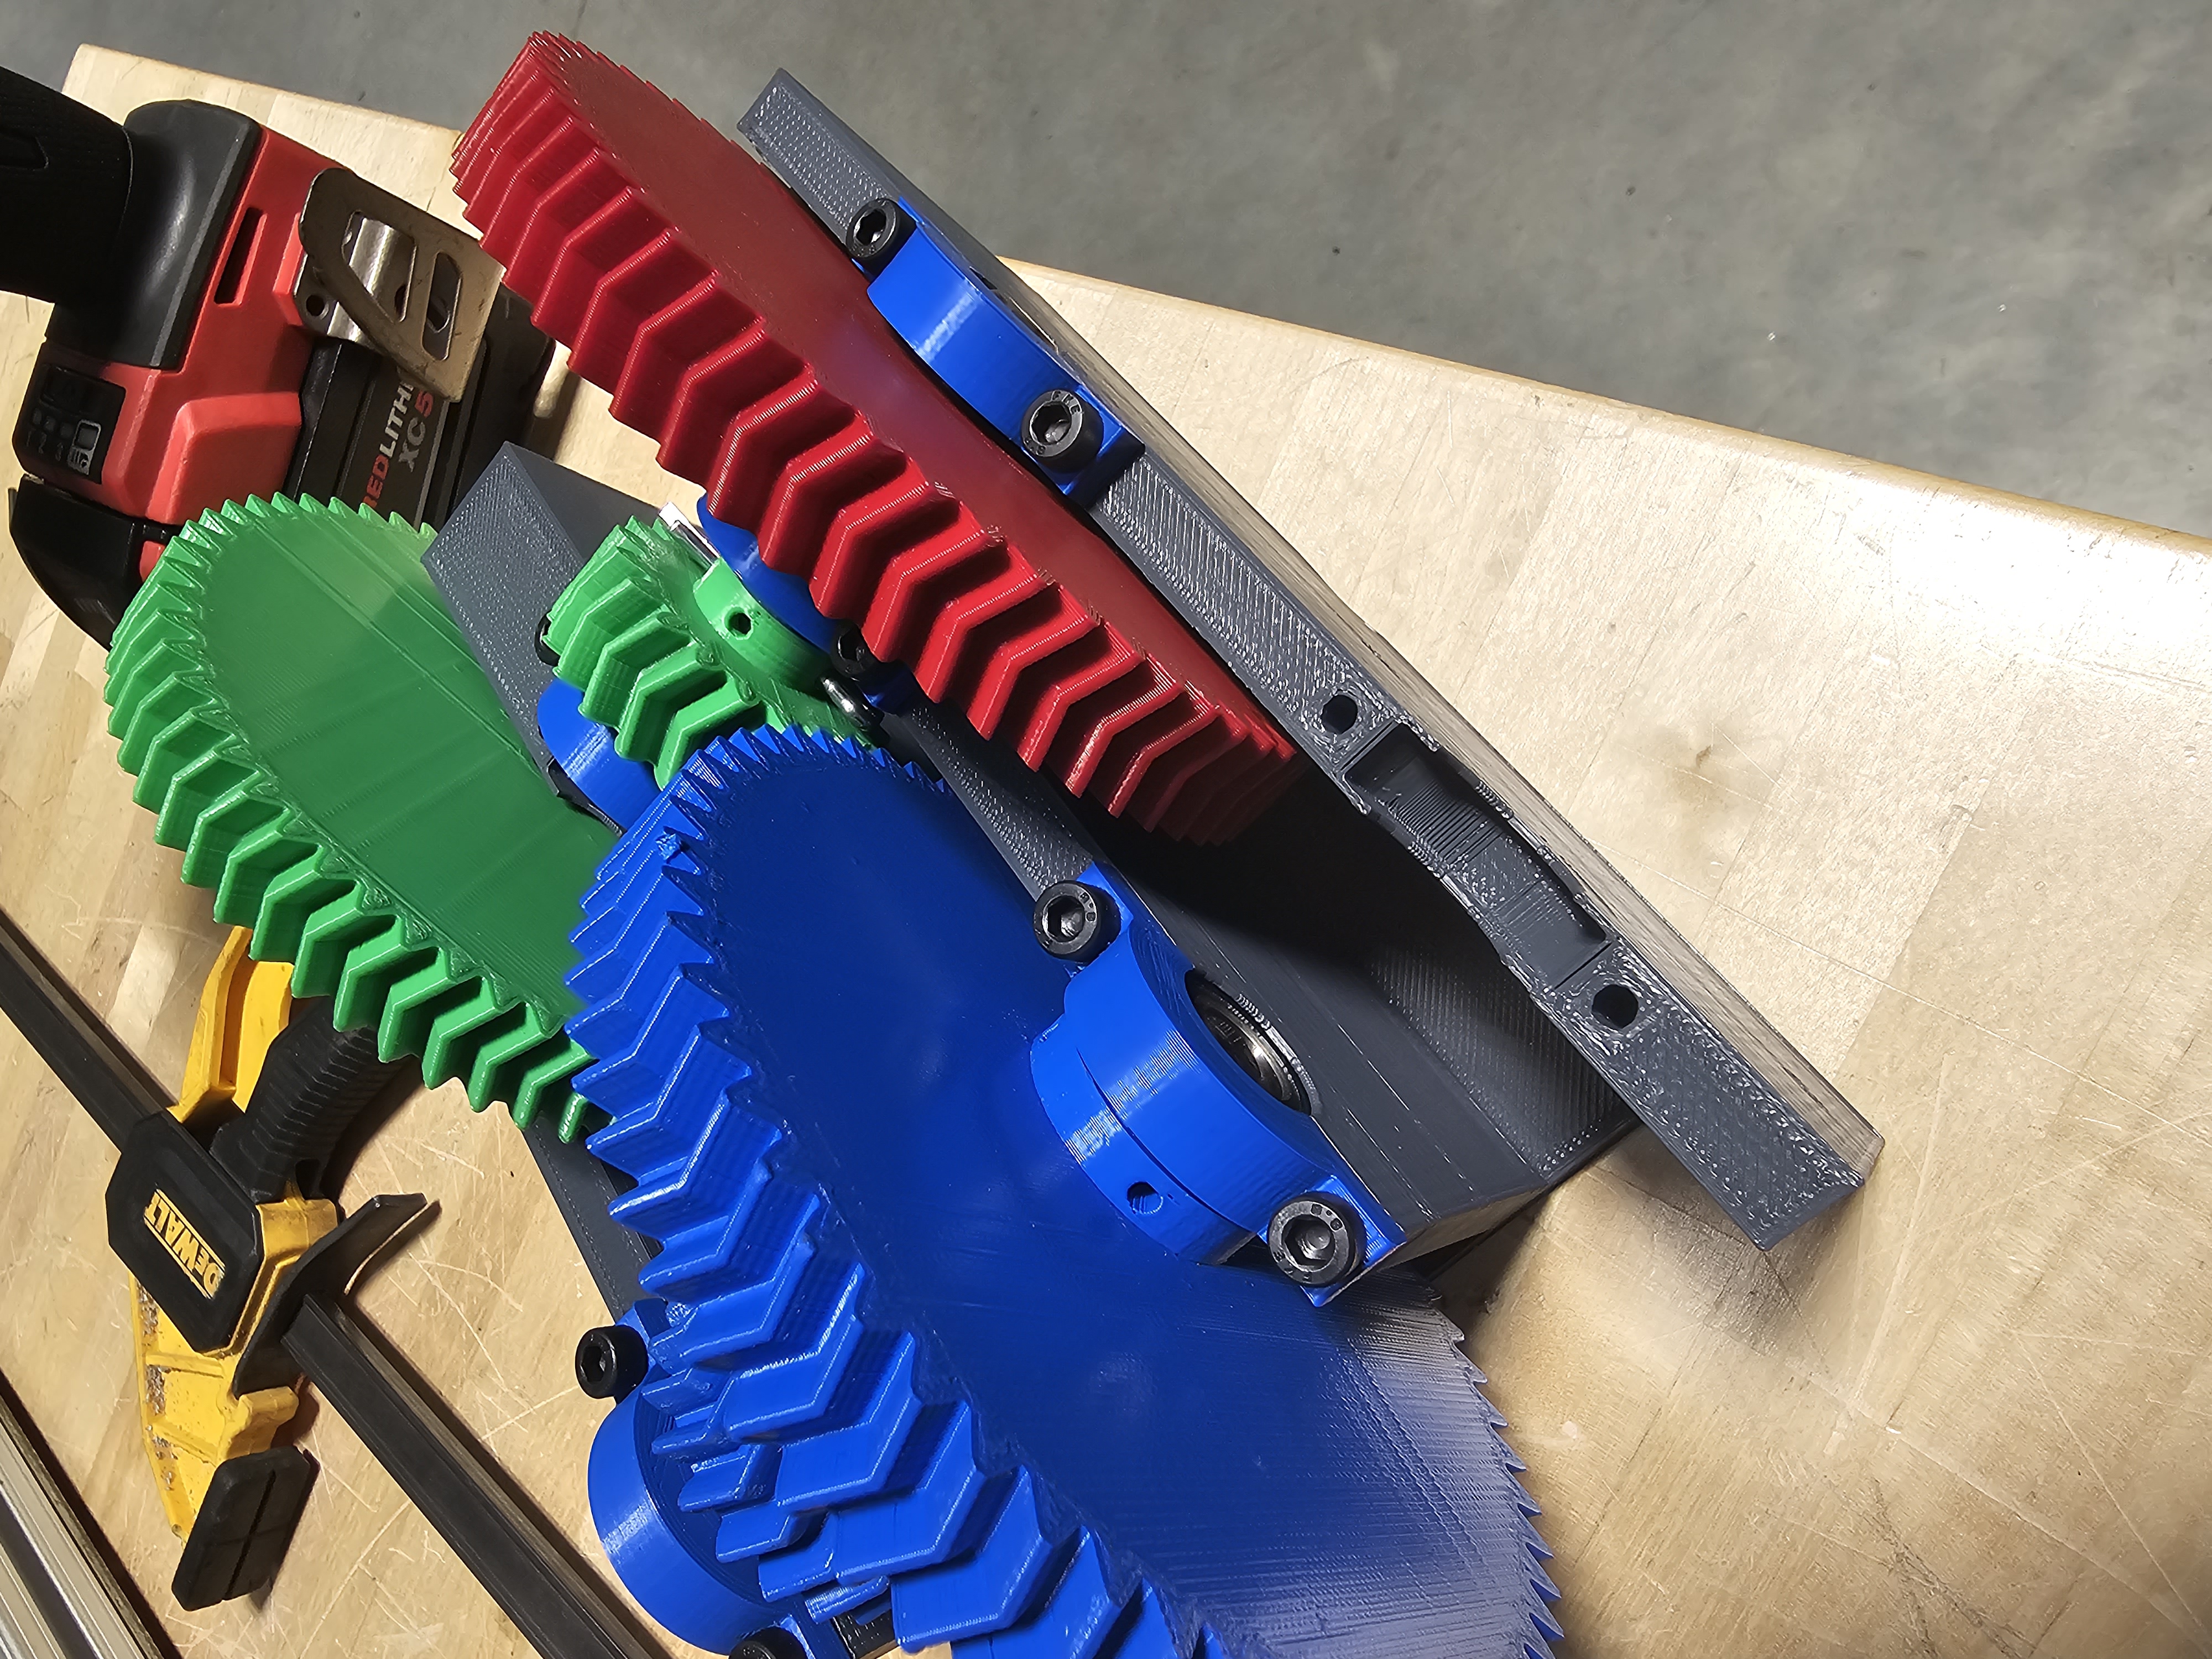
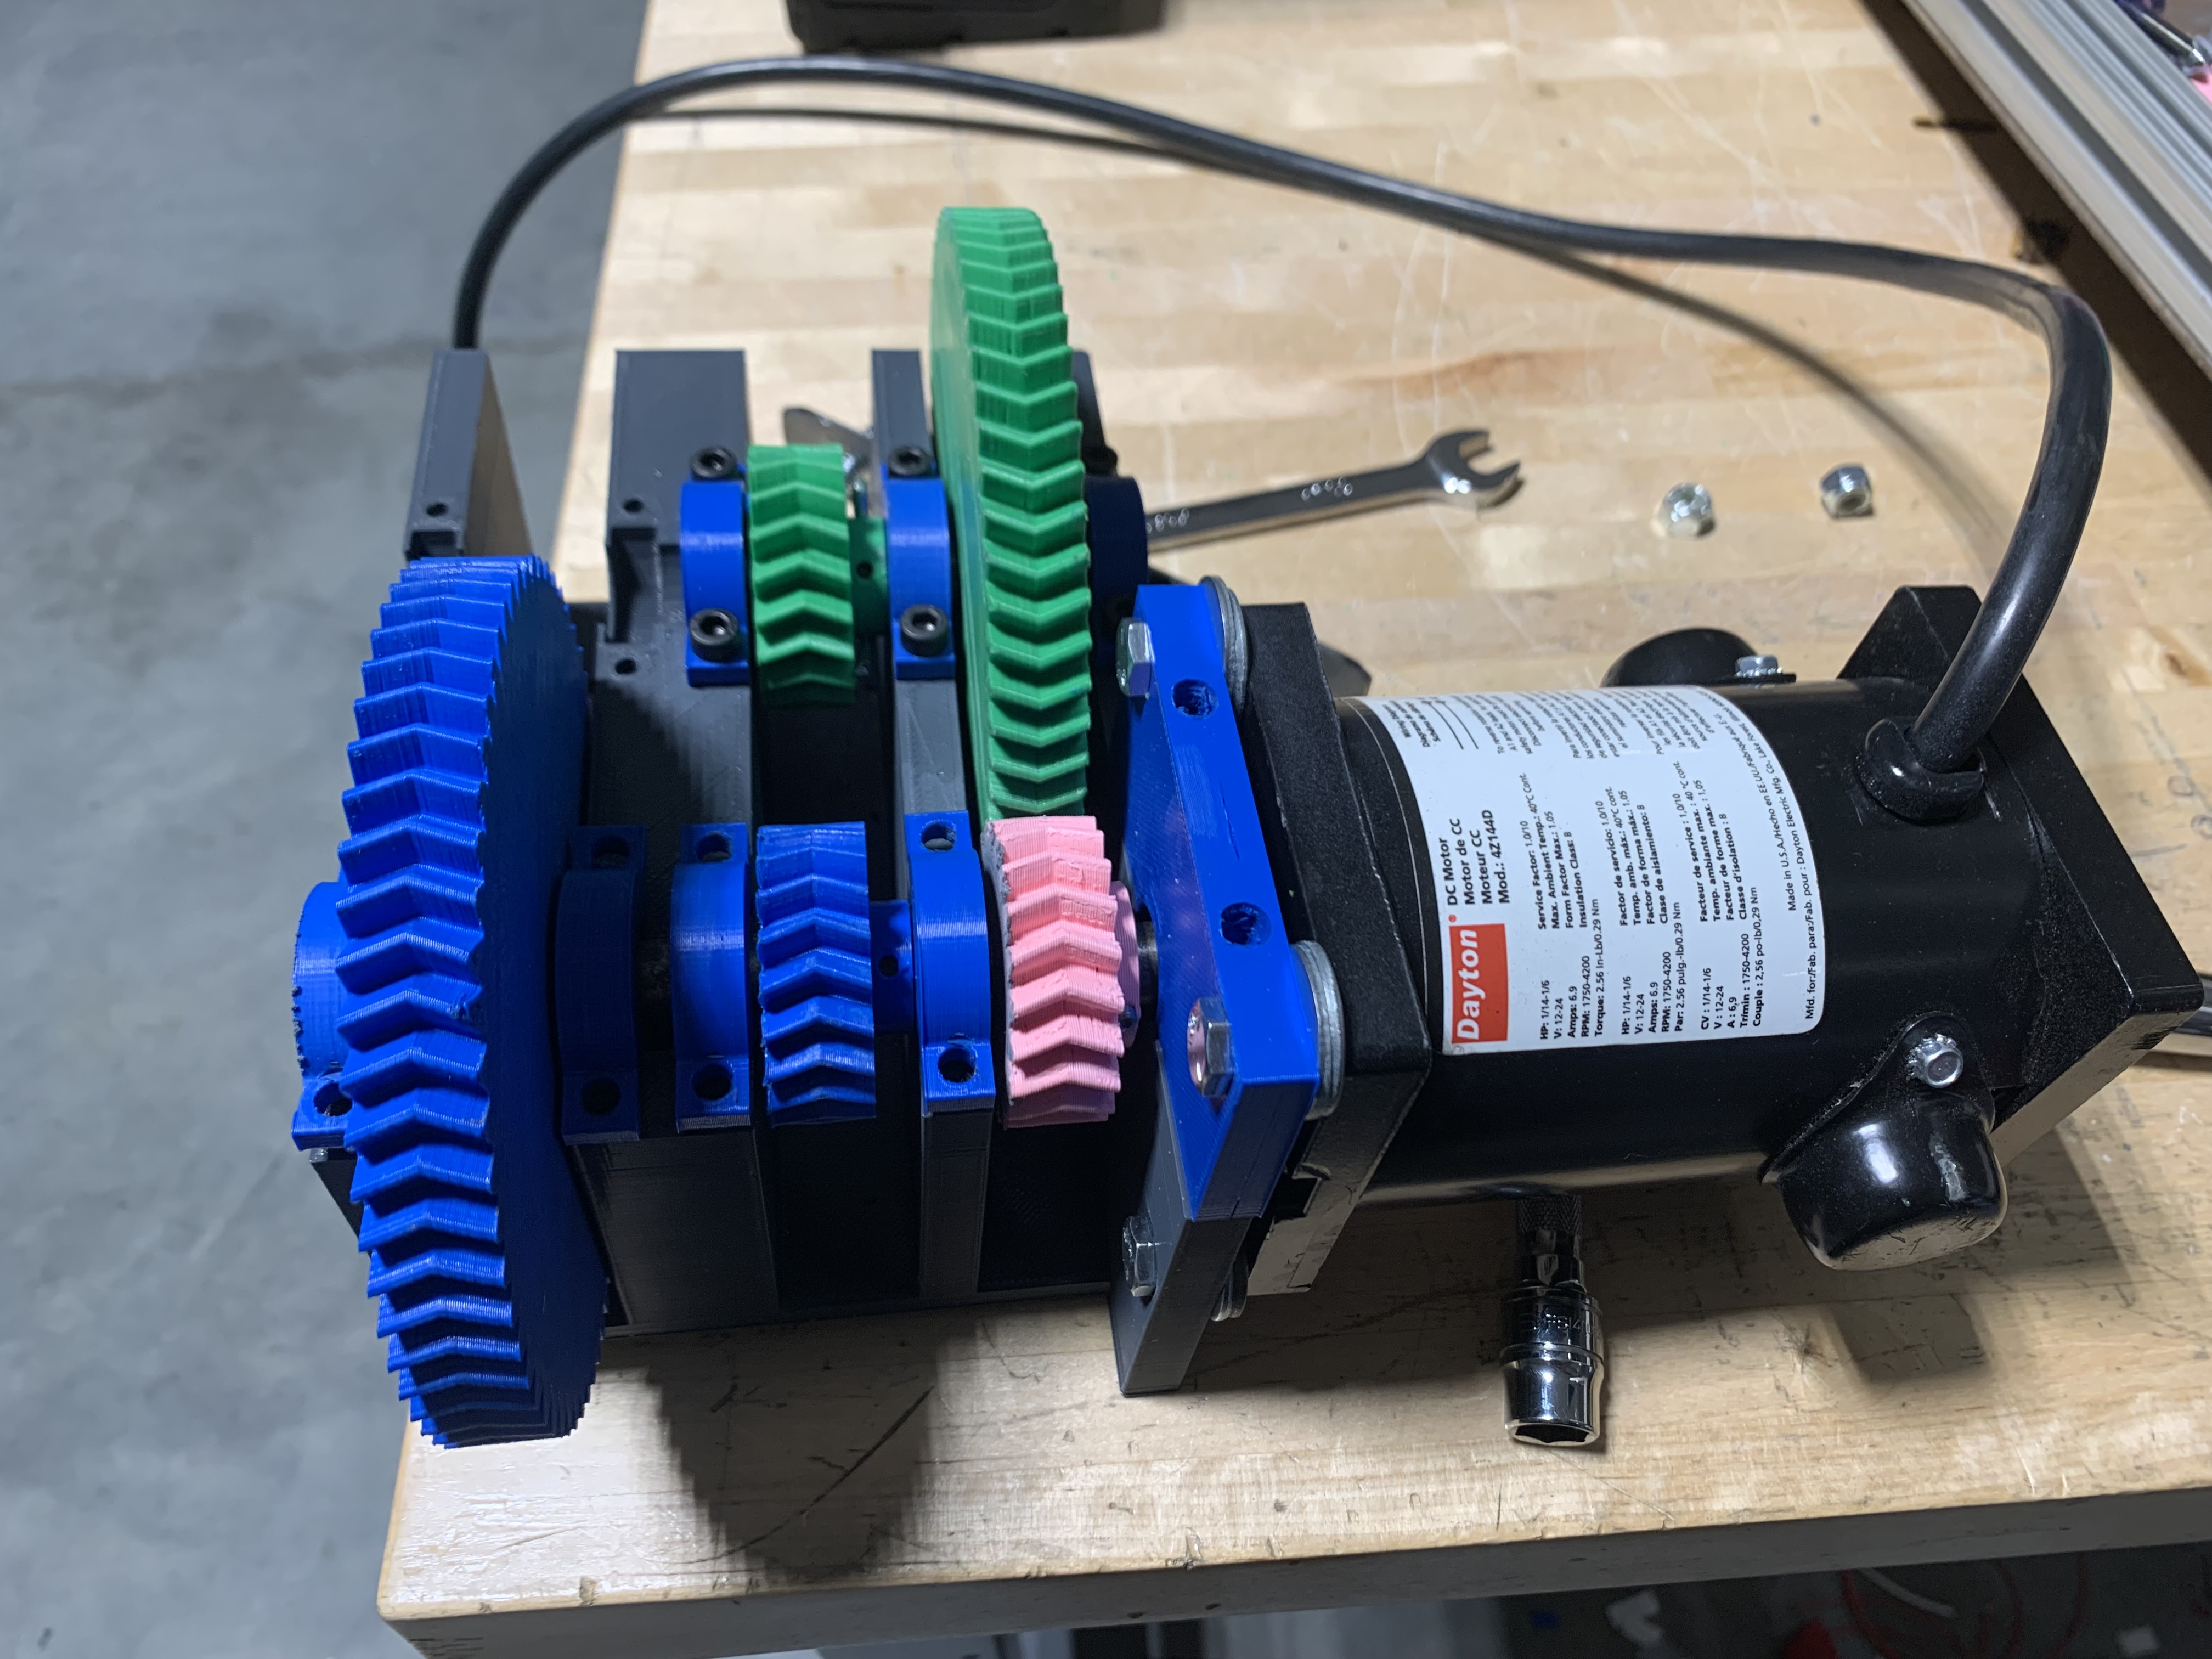
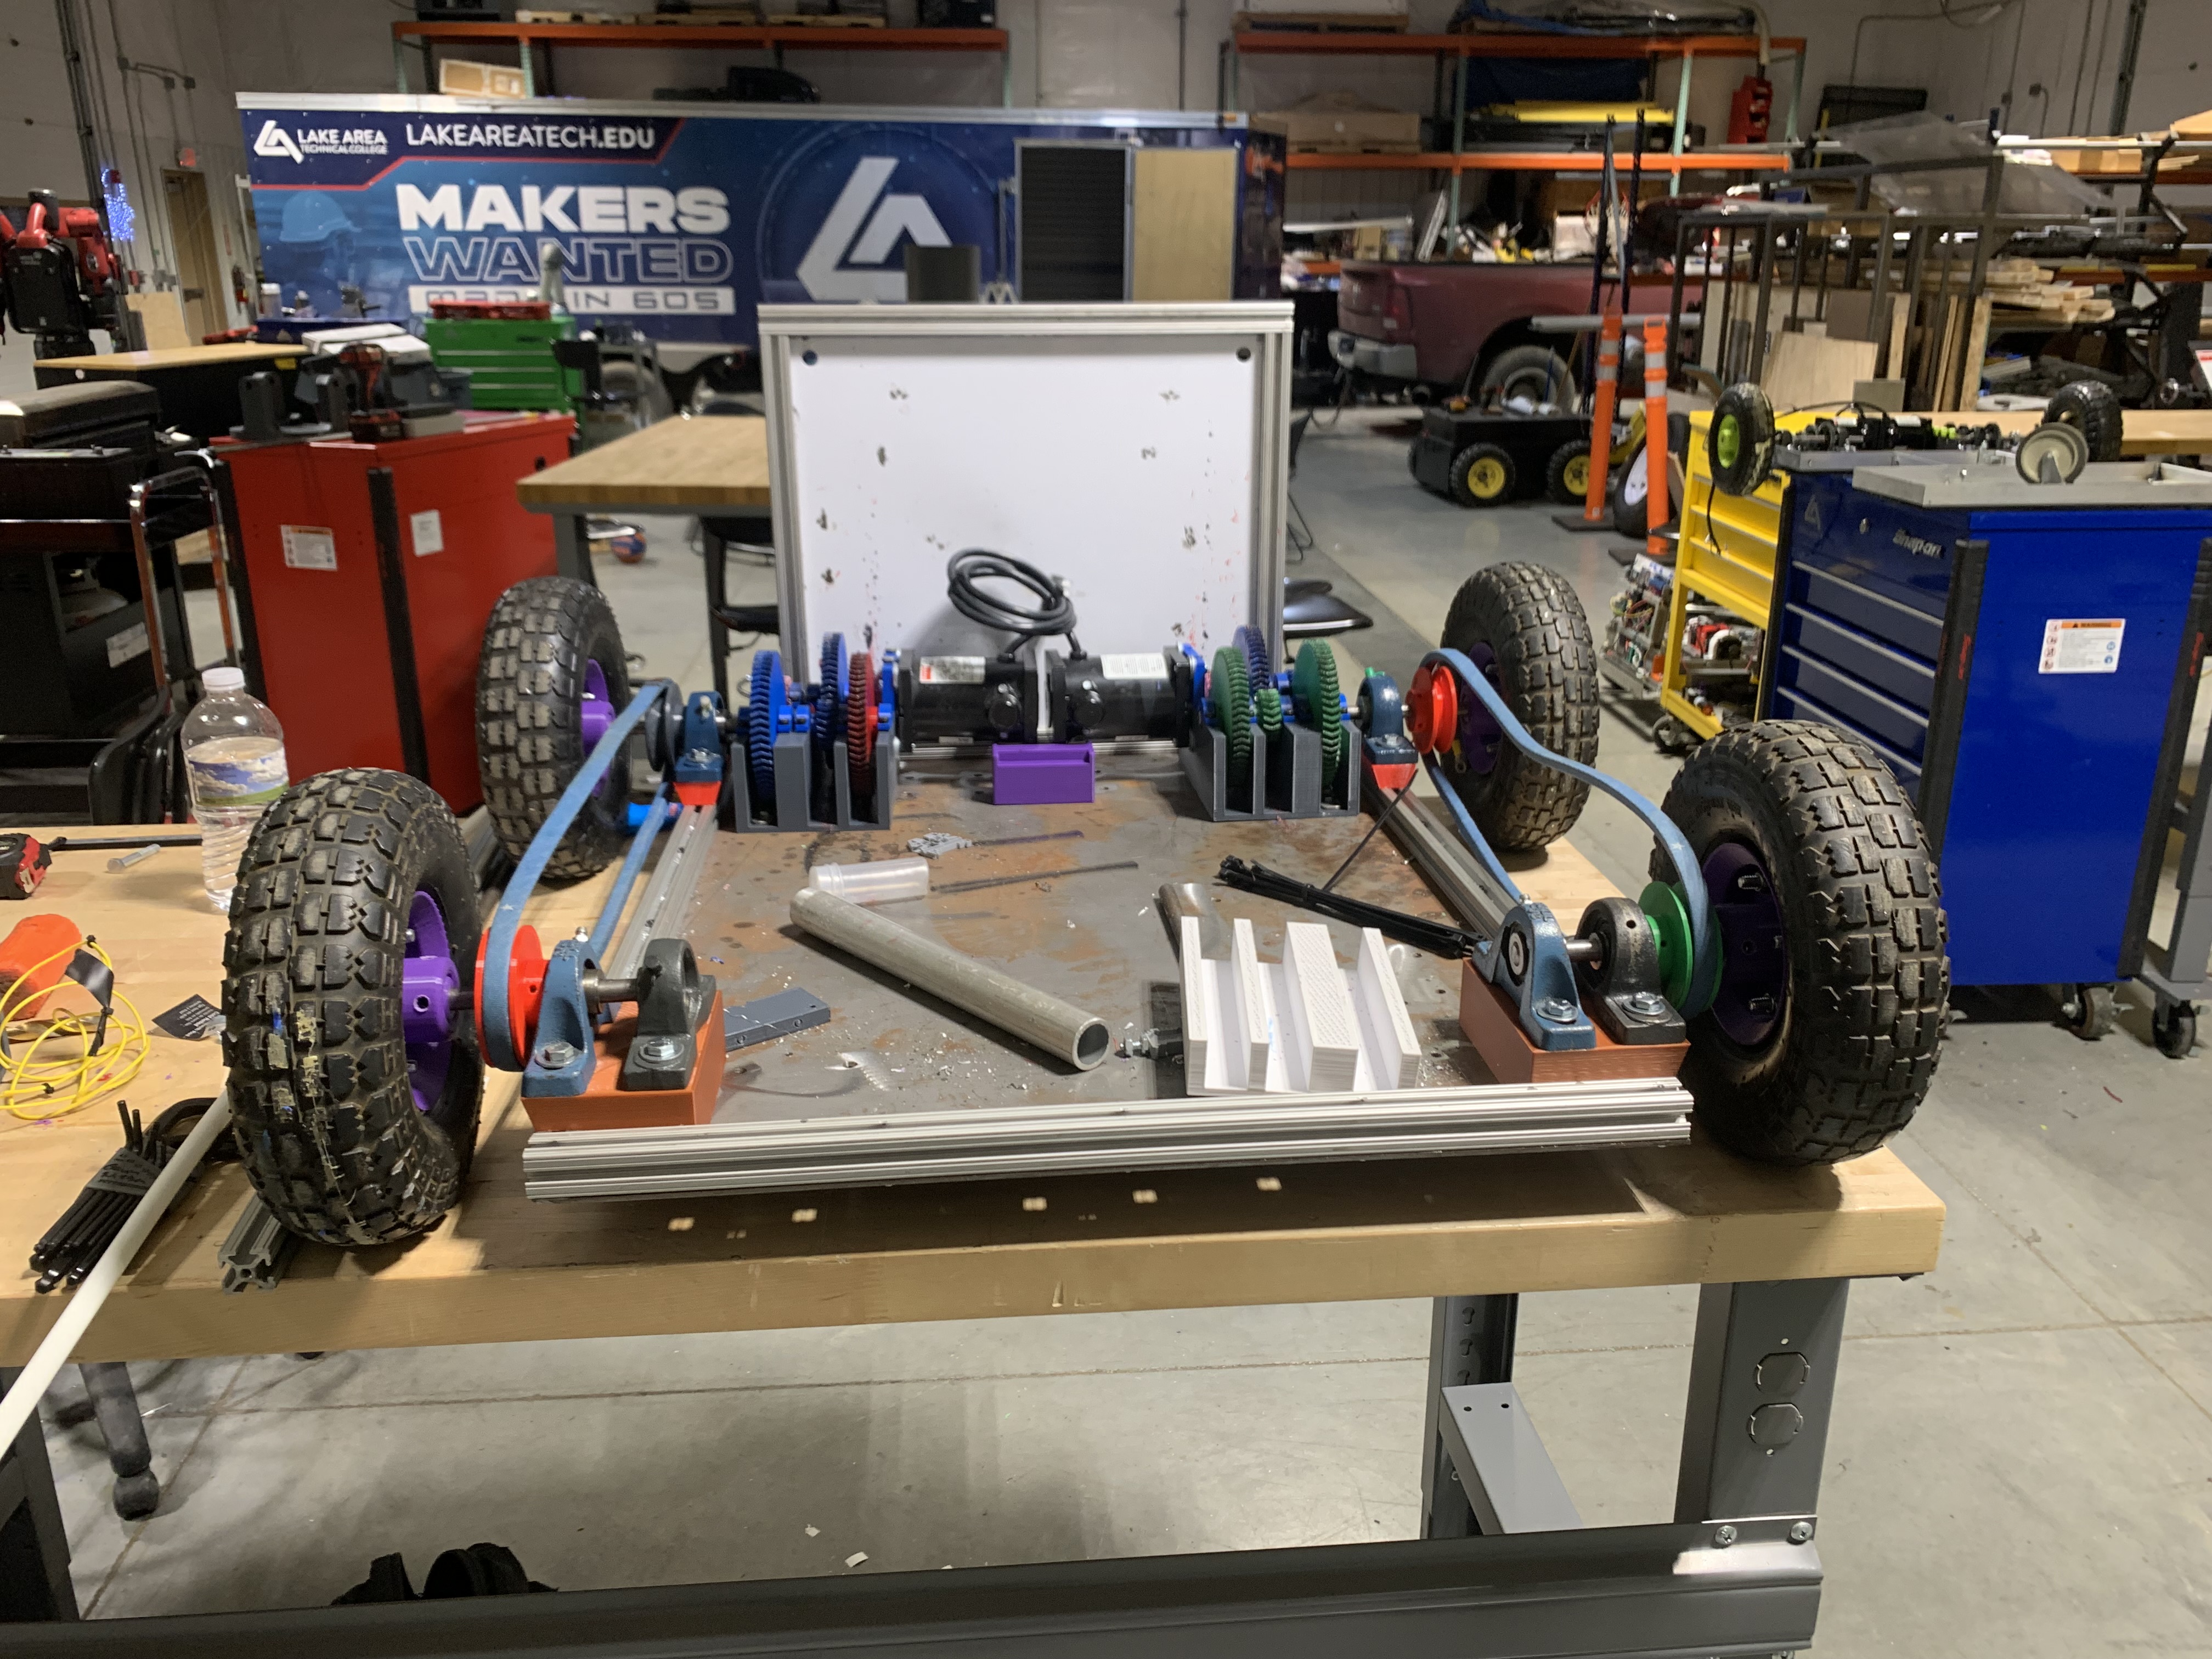
The assembly of the robot frame went smoothly and did not hinder us later in the design process in any ways by beginning with a larger frame to avoid issues with soace for the game mechanisms. The time for prototyping and assembly of the gearboxes was much longer than expected due to fitment and gear mesh issues, and was only elongated by print times, but we were able to overcome the issues and create a functional drivetrain with fully 3D printed gearboxes.
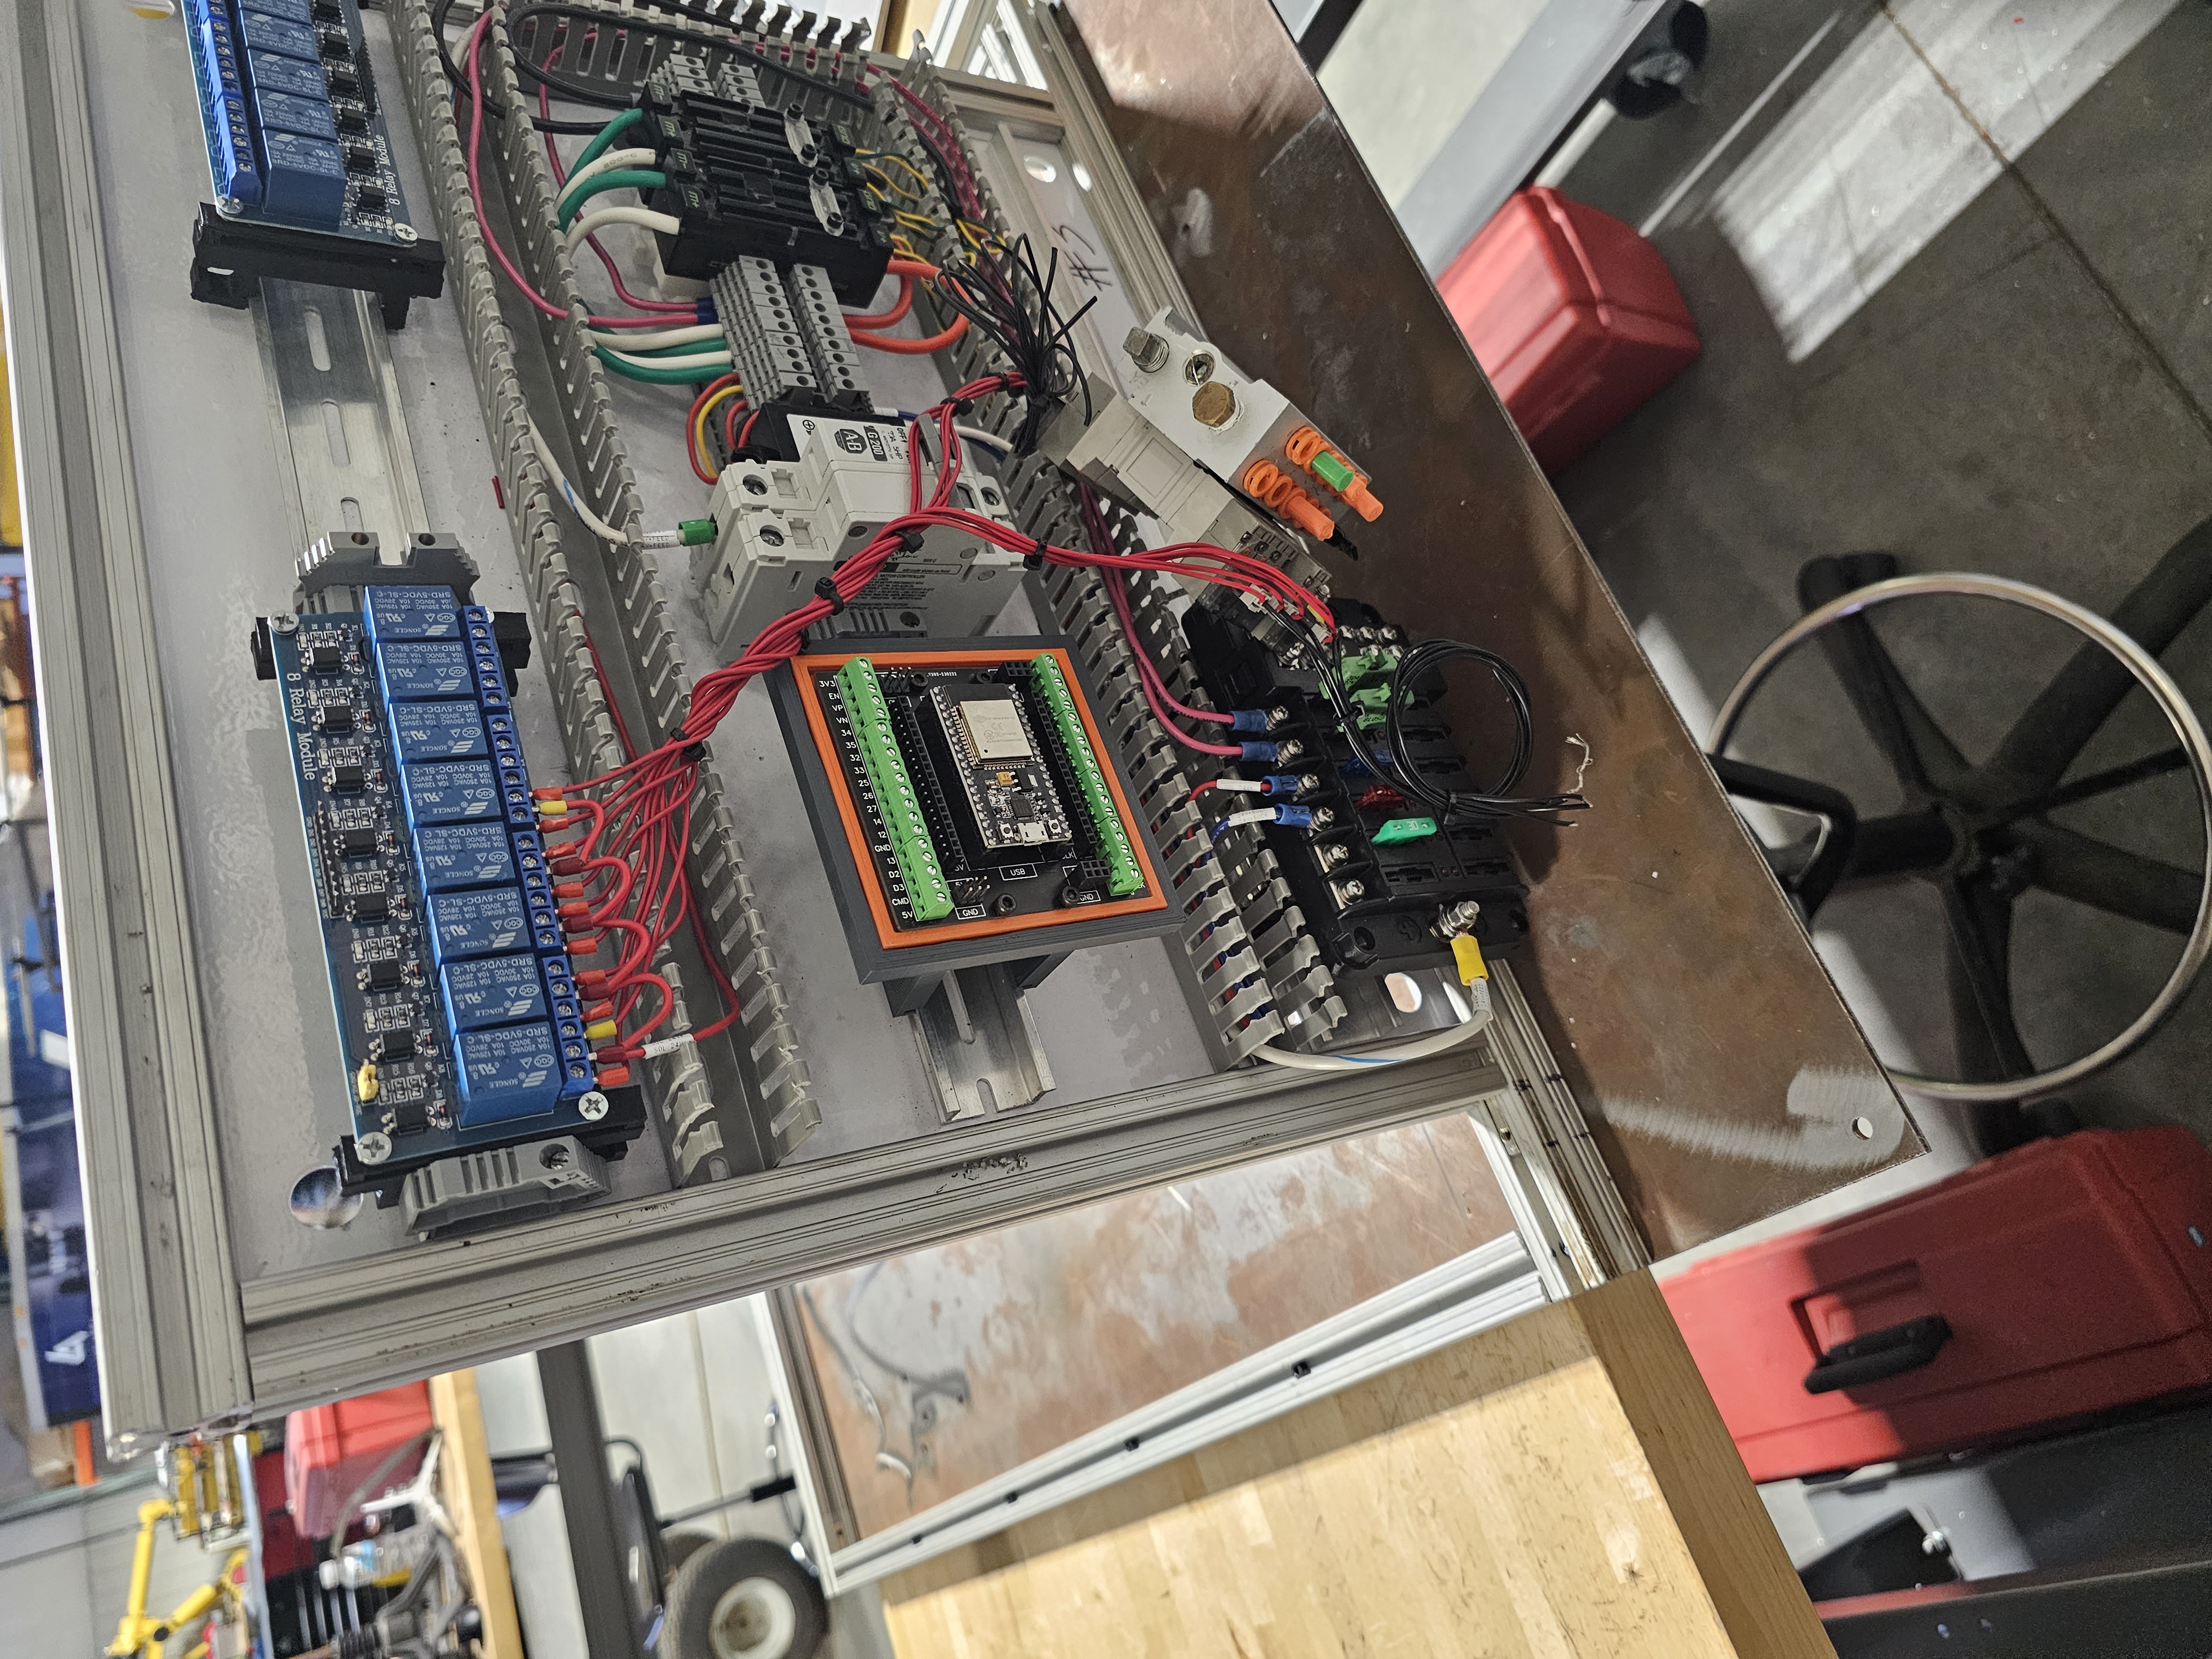
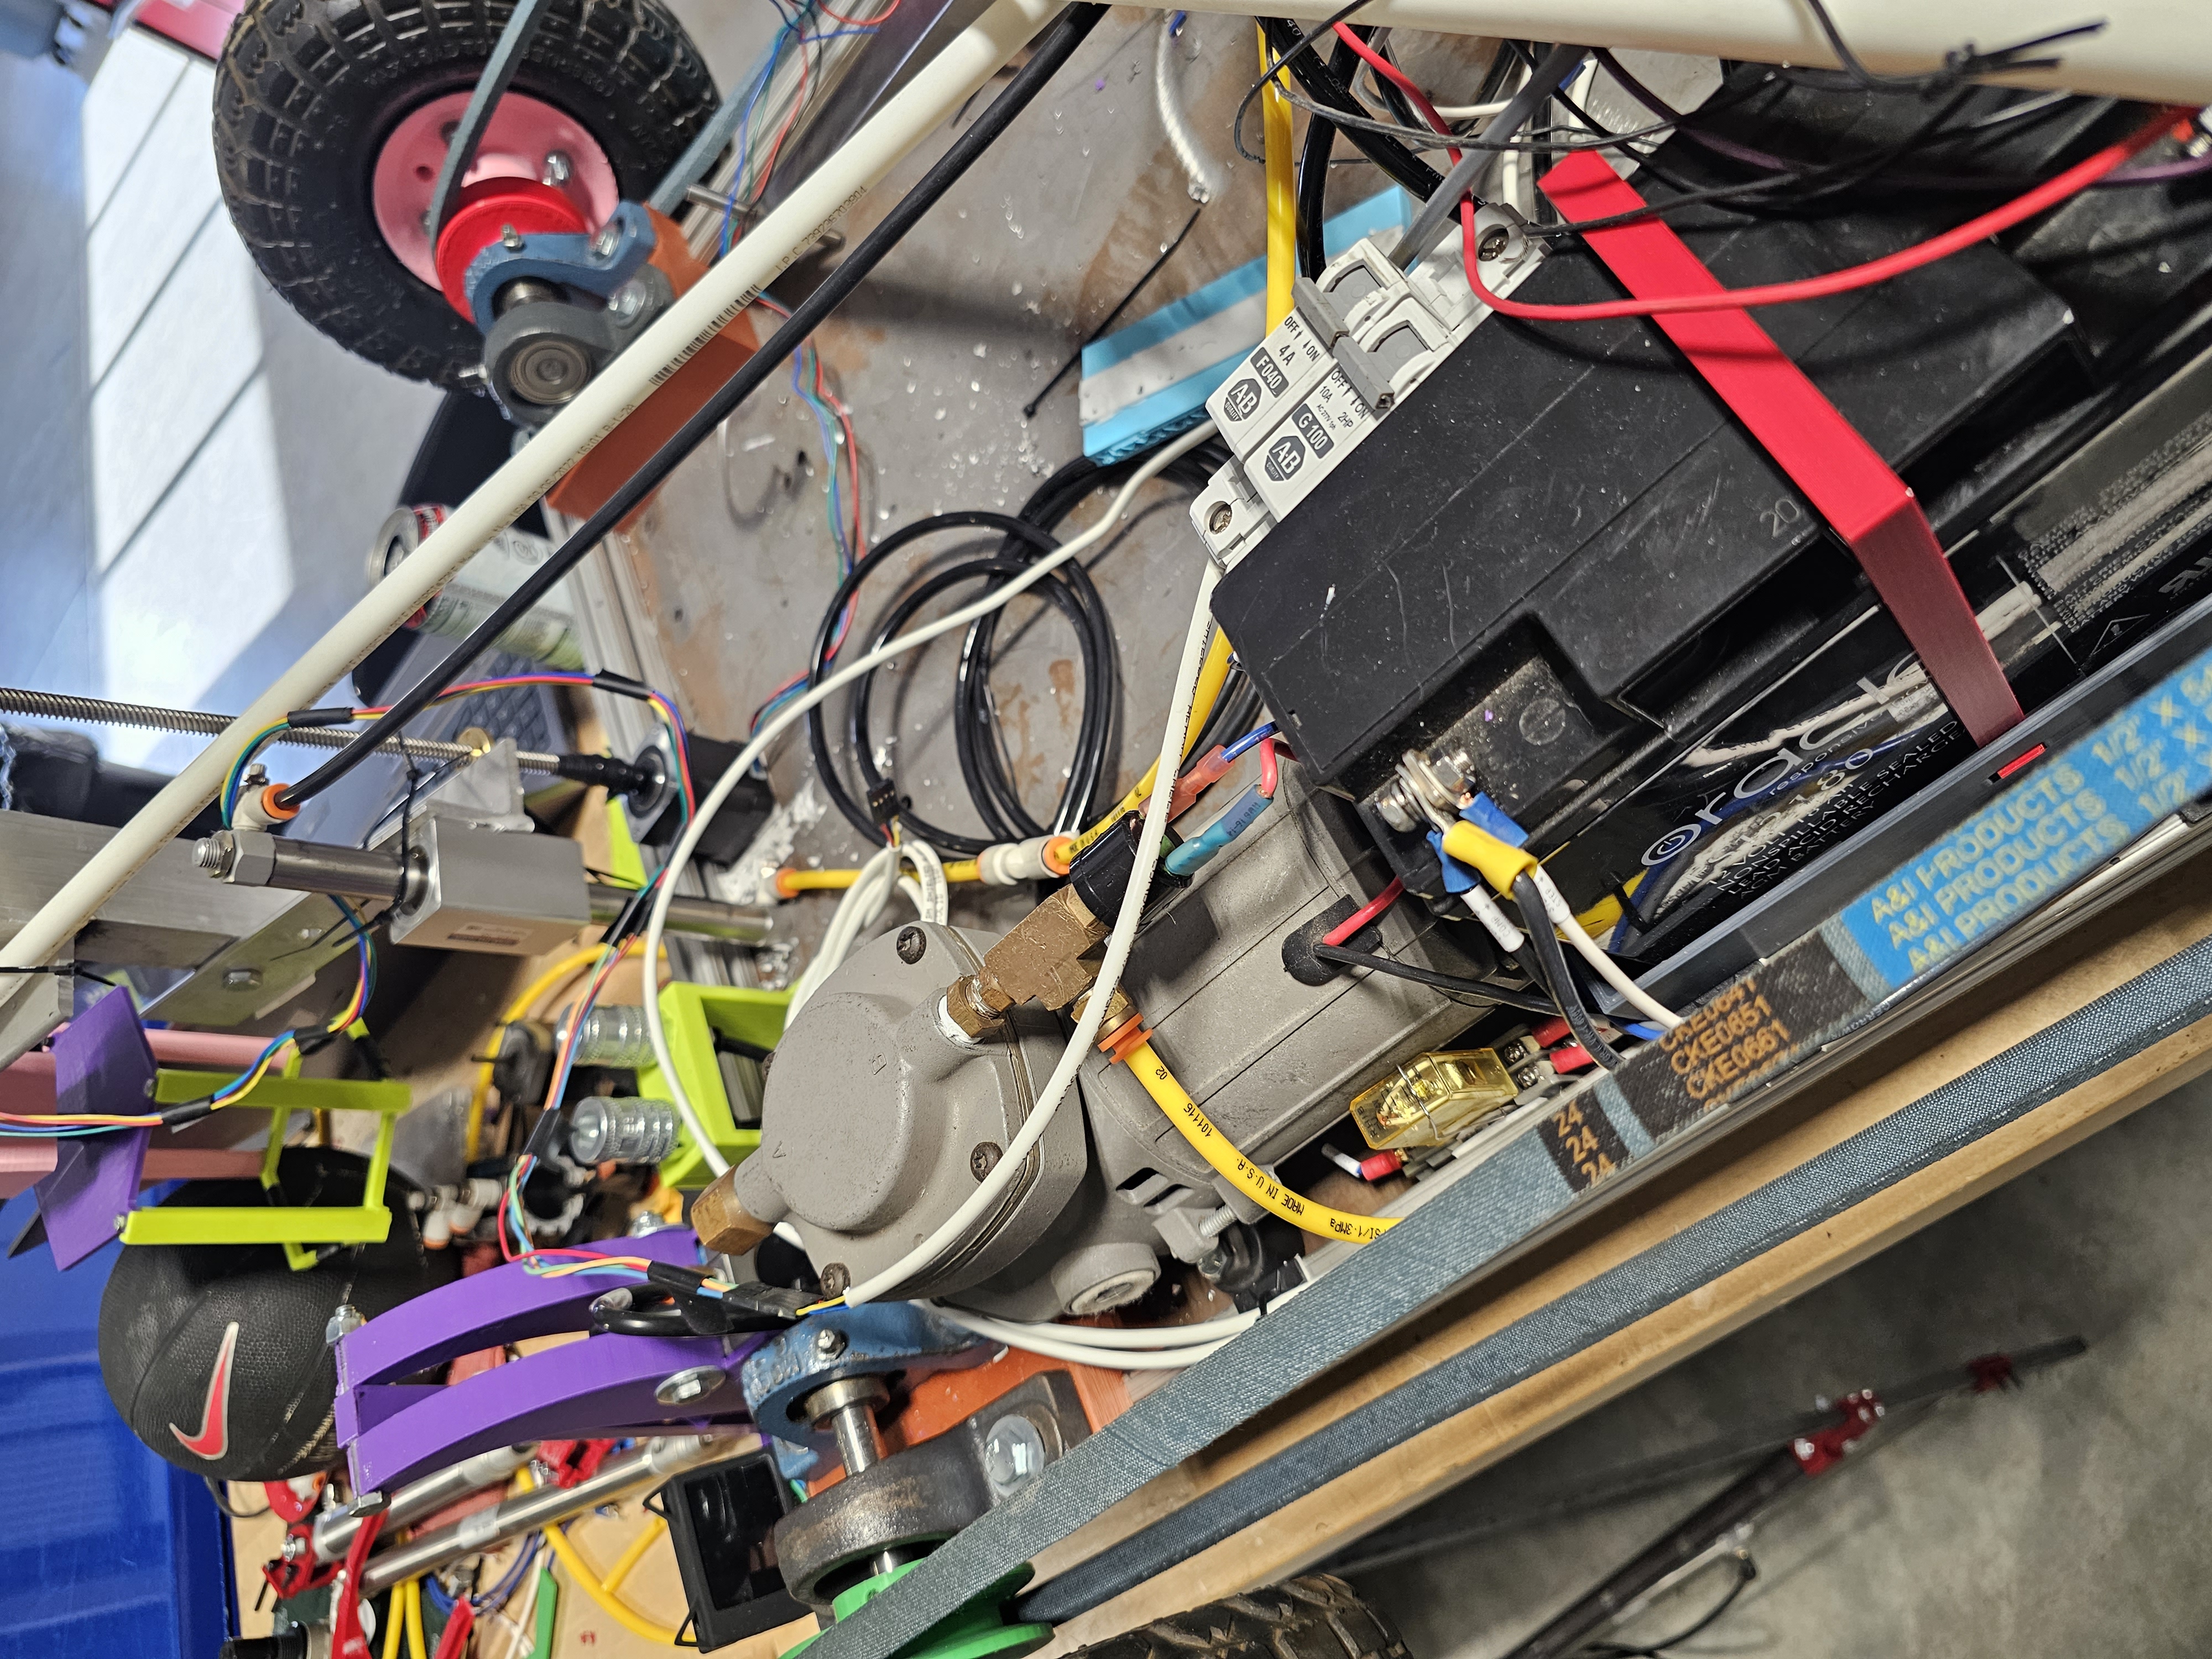
The basis for the electrical system was designed and assembled before Christmas break to help avoid such a large workload immediatley upon return to school. There were some additions to the electrical system including motor drivers and a 12 volt breakout near the battery, but the majority of the initial design was kept and not changed.
Automated Course Following uses a HuskyLens AI Camerea that outputs an X-Coordinate based off of color to the ESP32. Using the X-Coordinate, the ESP32 runs either the left wheel, right wheel, or both by segmenting the screen of the camera into three areas. The programming for the line following is fairly simple, but issues arose with the mounting location, wiring, and poll speed of the HuskyLens.
The mechanism for the basketball shoot was horribly fun to design. There were many design challenges when attempting to create a mechanism that had not only enough power to throw the basketball but also enough speed to get a great enough distance, and our choice of air cylinders played a large part in that. We struggled to get a quick enough release using air cylinders initailly and were about ready to move on to a latching system when we decided to attempt using a dump valve, which greatly improved out results.
The mechanism for Robot Mini Golf was a short and simple design that also has enough power to get the ball rolling. It was one of the first games we completed due to how long was spent on the gearboxes, but is has proved a success and hos not been modified since it has been installed.
The Hill Climb was the second game we completed and relied heavily on the drive train. We struggled with everything from shattering gears and wheel hubs, to stripping teeth off of the gears in the gearbox, to not having enough clearance to crest the hill.
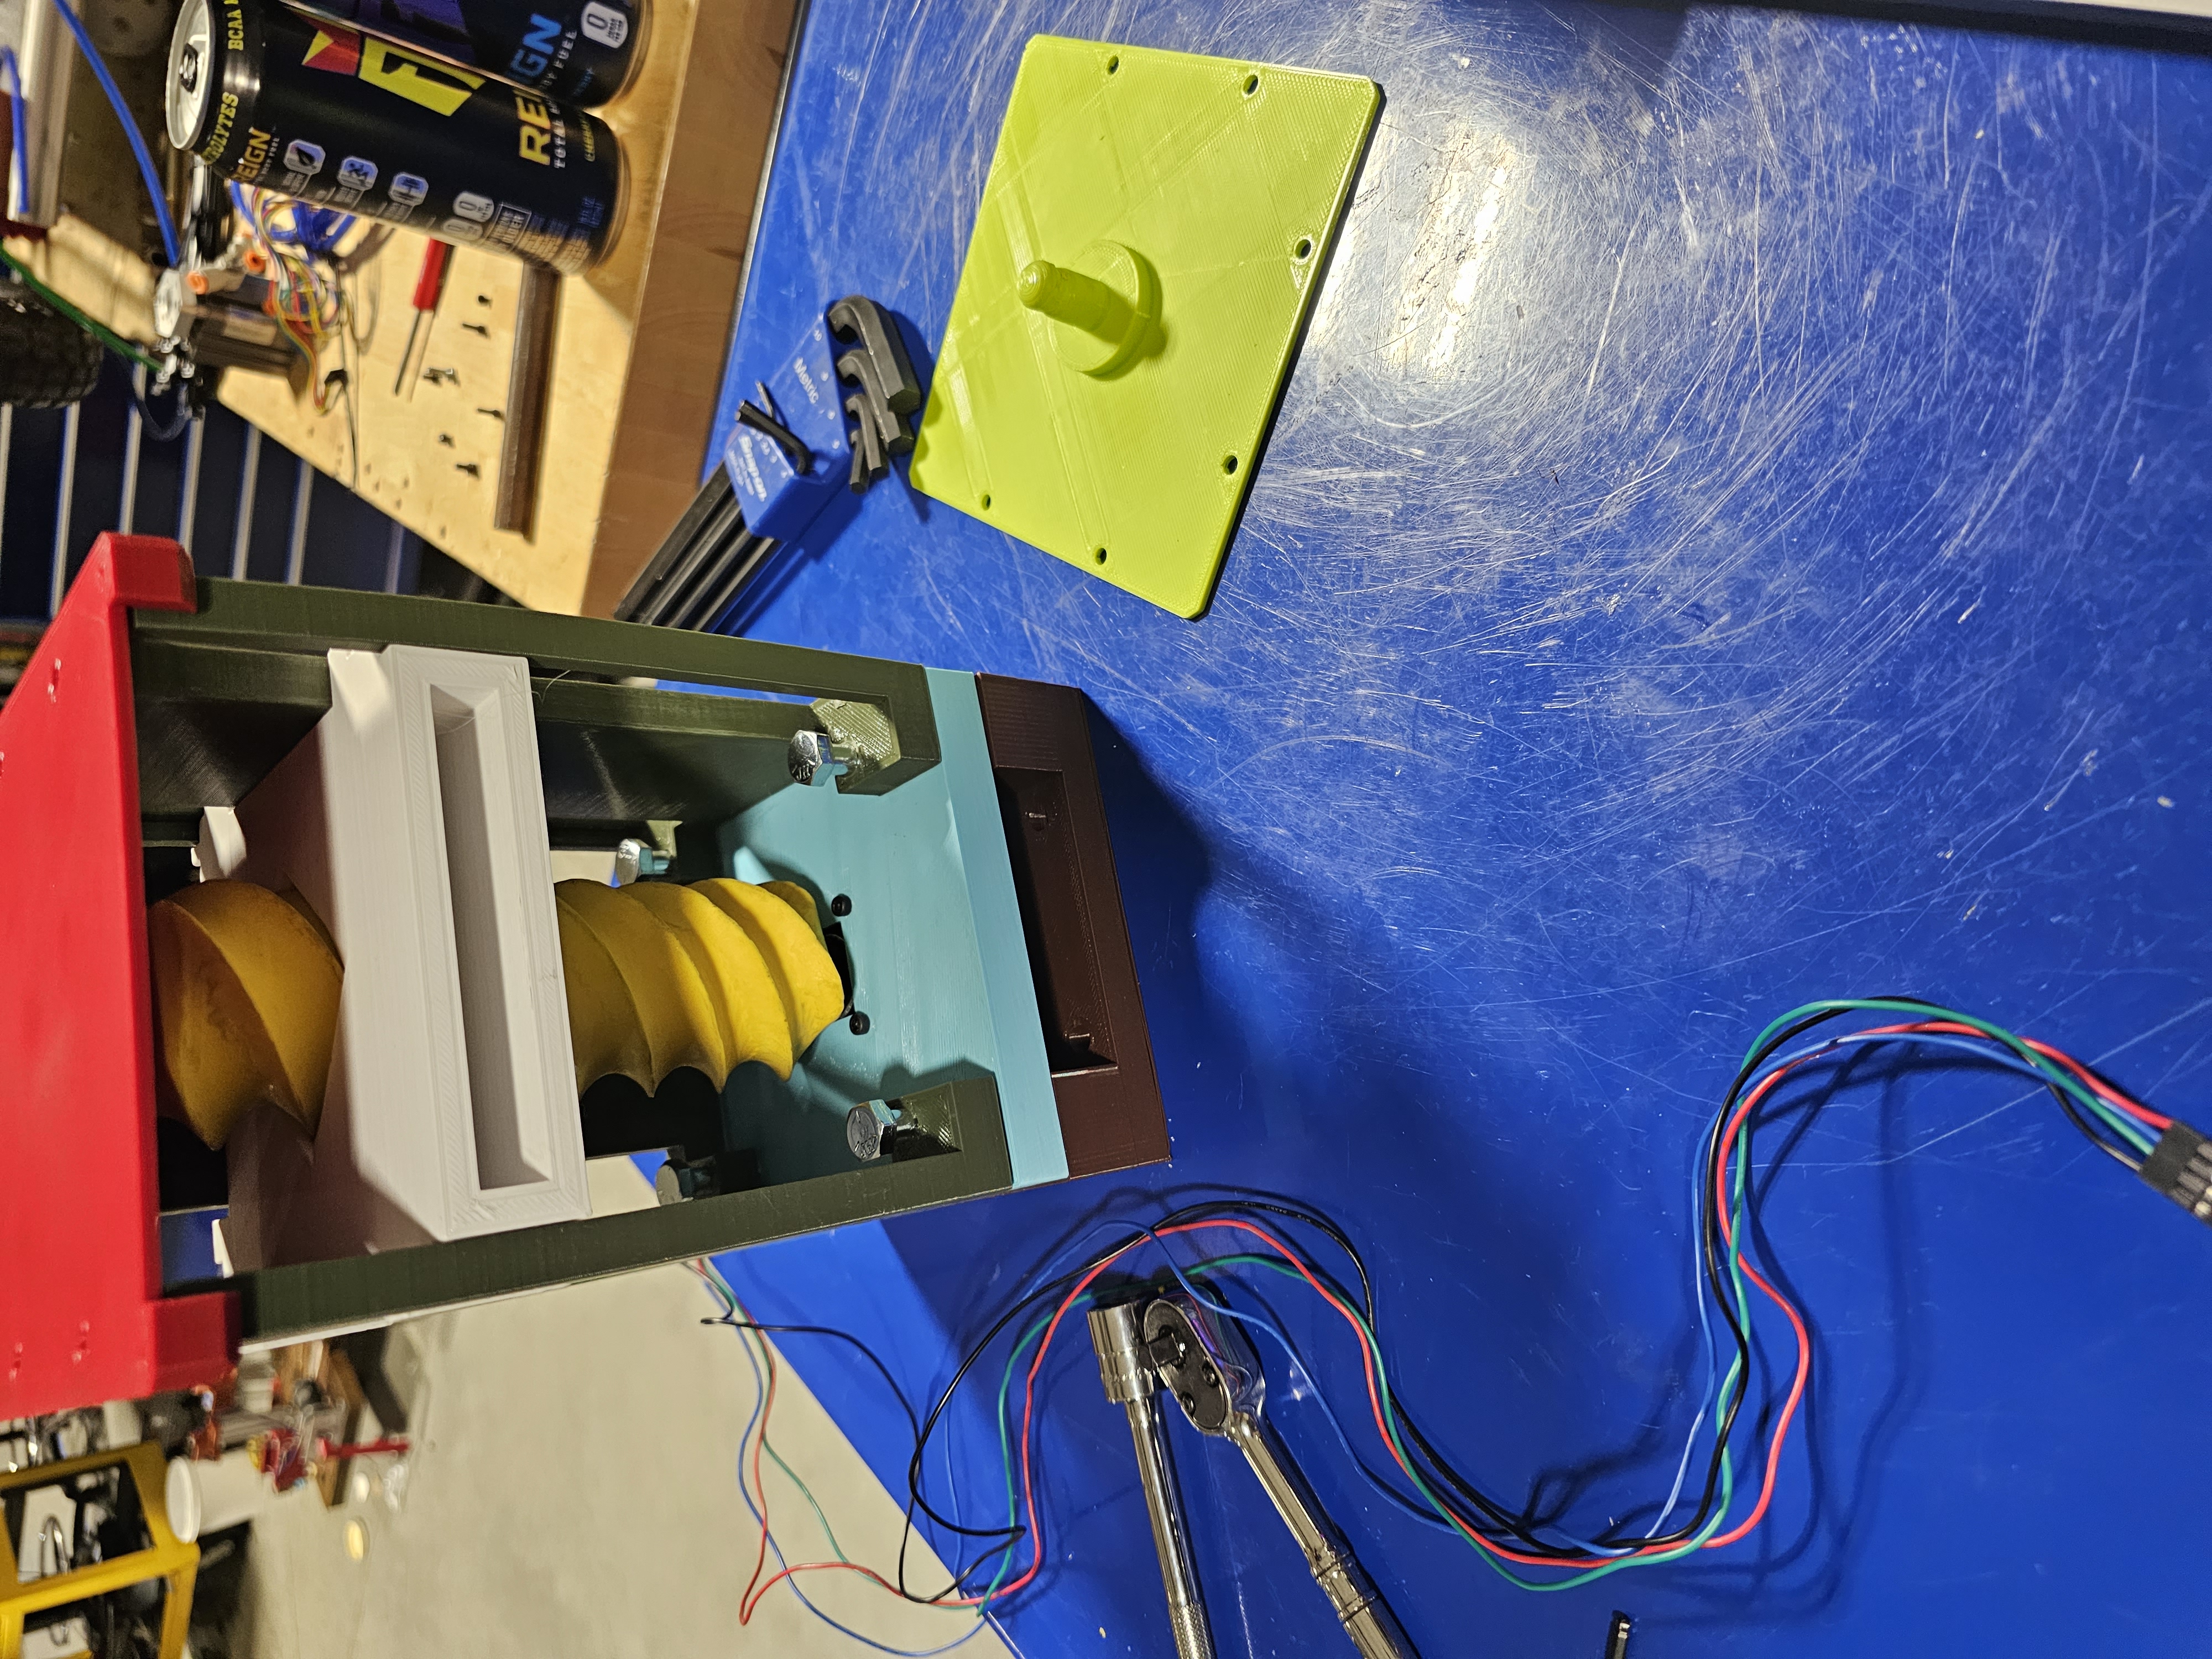
We wanted to design and build something that was unique and not commonly seen to complete the game. We relied on multiple 3D printed parts rather than just a motor and a sheath with the hopes of it allowing for more flexibility when threading the nut onto the bolt.
The pick and place game uses the same lifitng mechanism as the nut threading game, and includes a quick disconnect for both the air and physical connection. The gripper had many iterations to get correct for the sizing of all three gears, but was simple to design due to the air cylinder used.
One of our largest challenges was getting our drivetrain to work consistently. We struggled through multiple different iterations of gears after mounting the gearboxes due to multiple different failures that were not evident when we first designed the drivetrain.
We also struggled with the basketball launching system. We originally tried using air cylinders, but struggled with releasing air fast enough to get a far enough throw. After that we attempted using springs and bungee cords to get a faster release, but found that we were binding and were unable to keep a consistent amount of force on the arm. After that we went back to air cylinders but added springs to increase the force when launching, and added dump cylinders to let the air escape from the cylinders with less restriction than routing it back to the solenoids before releasing.
The robot's control system is designed for simplicity and intuitive operation, featuring a familiar PS4 controller for user input. Utilizing Bluetooth connectivity, the controller seamlessly communicates with the ESP32, which serves as the brain controlling the robot's movements.
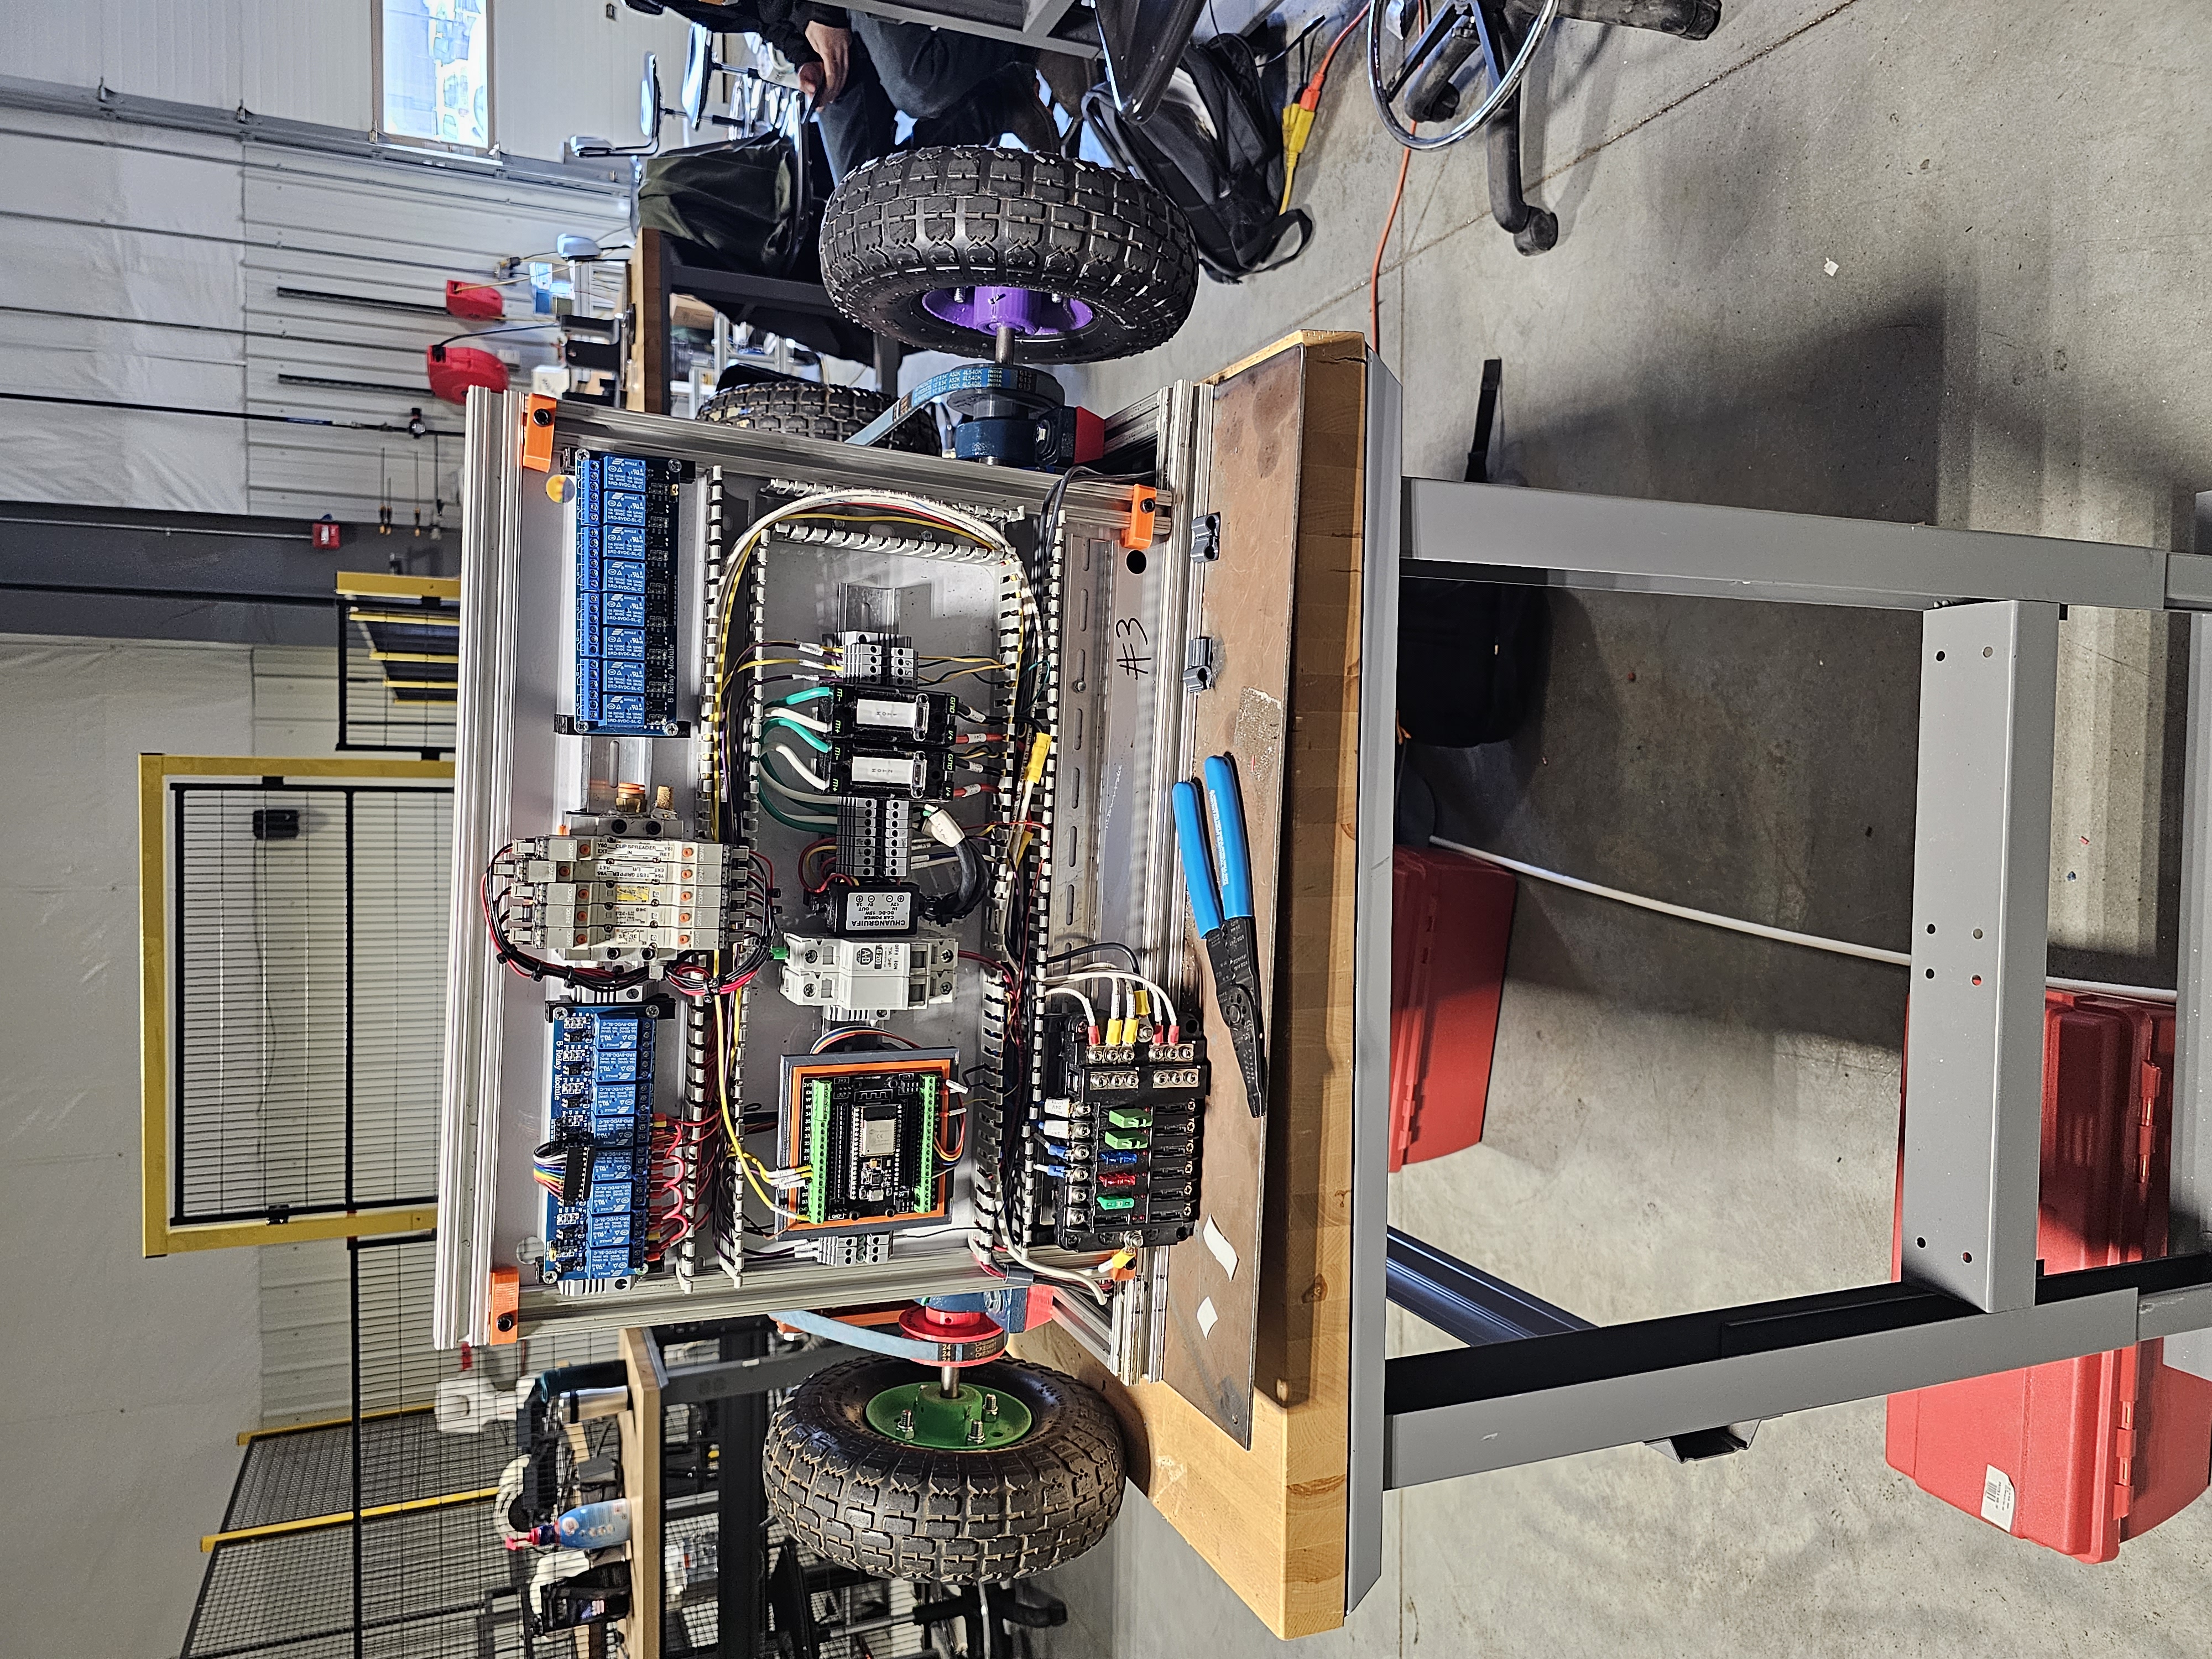
To streamline the design process and ensure compatibility with industry standards, all electronics on the main panel are mounted on DIN Rails. Custom 3D-printed adapters are used for devices without DIN Rail mounting capabilities, eliminating the need for additional bolts.
With a focus on minimizing human intervention, the robot's mechanisms are engineered to require minimal manual control once mounted. Control is efficiently managed through the PS4 controller, offering convenience and ease of operation.
Safety is paramount, with several breakers implemented to isolate electrical systems. This prevents tripped circuits from affecting other components, enhancing overall reliability. Furthermore, the robot's code includes intelligent safeguards. When the controller is disconnected, the ESP32 maintains motor controllers in a neutral state, preventing unintended movements. This ensures operator safety during troubleshooting and prevents potential runaways in the event of controller failure.
In summary, the robot's design prioritizes ease of use, safety, and reliability, offering a user-friendly experience with robust safeguards for uninterrupted operation."
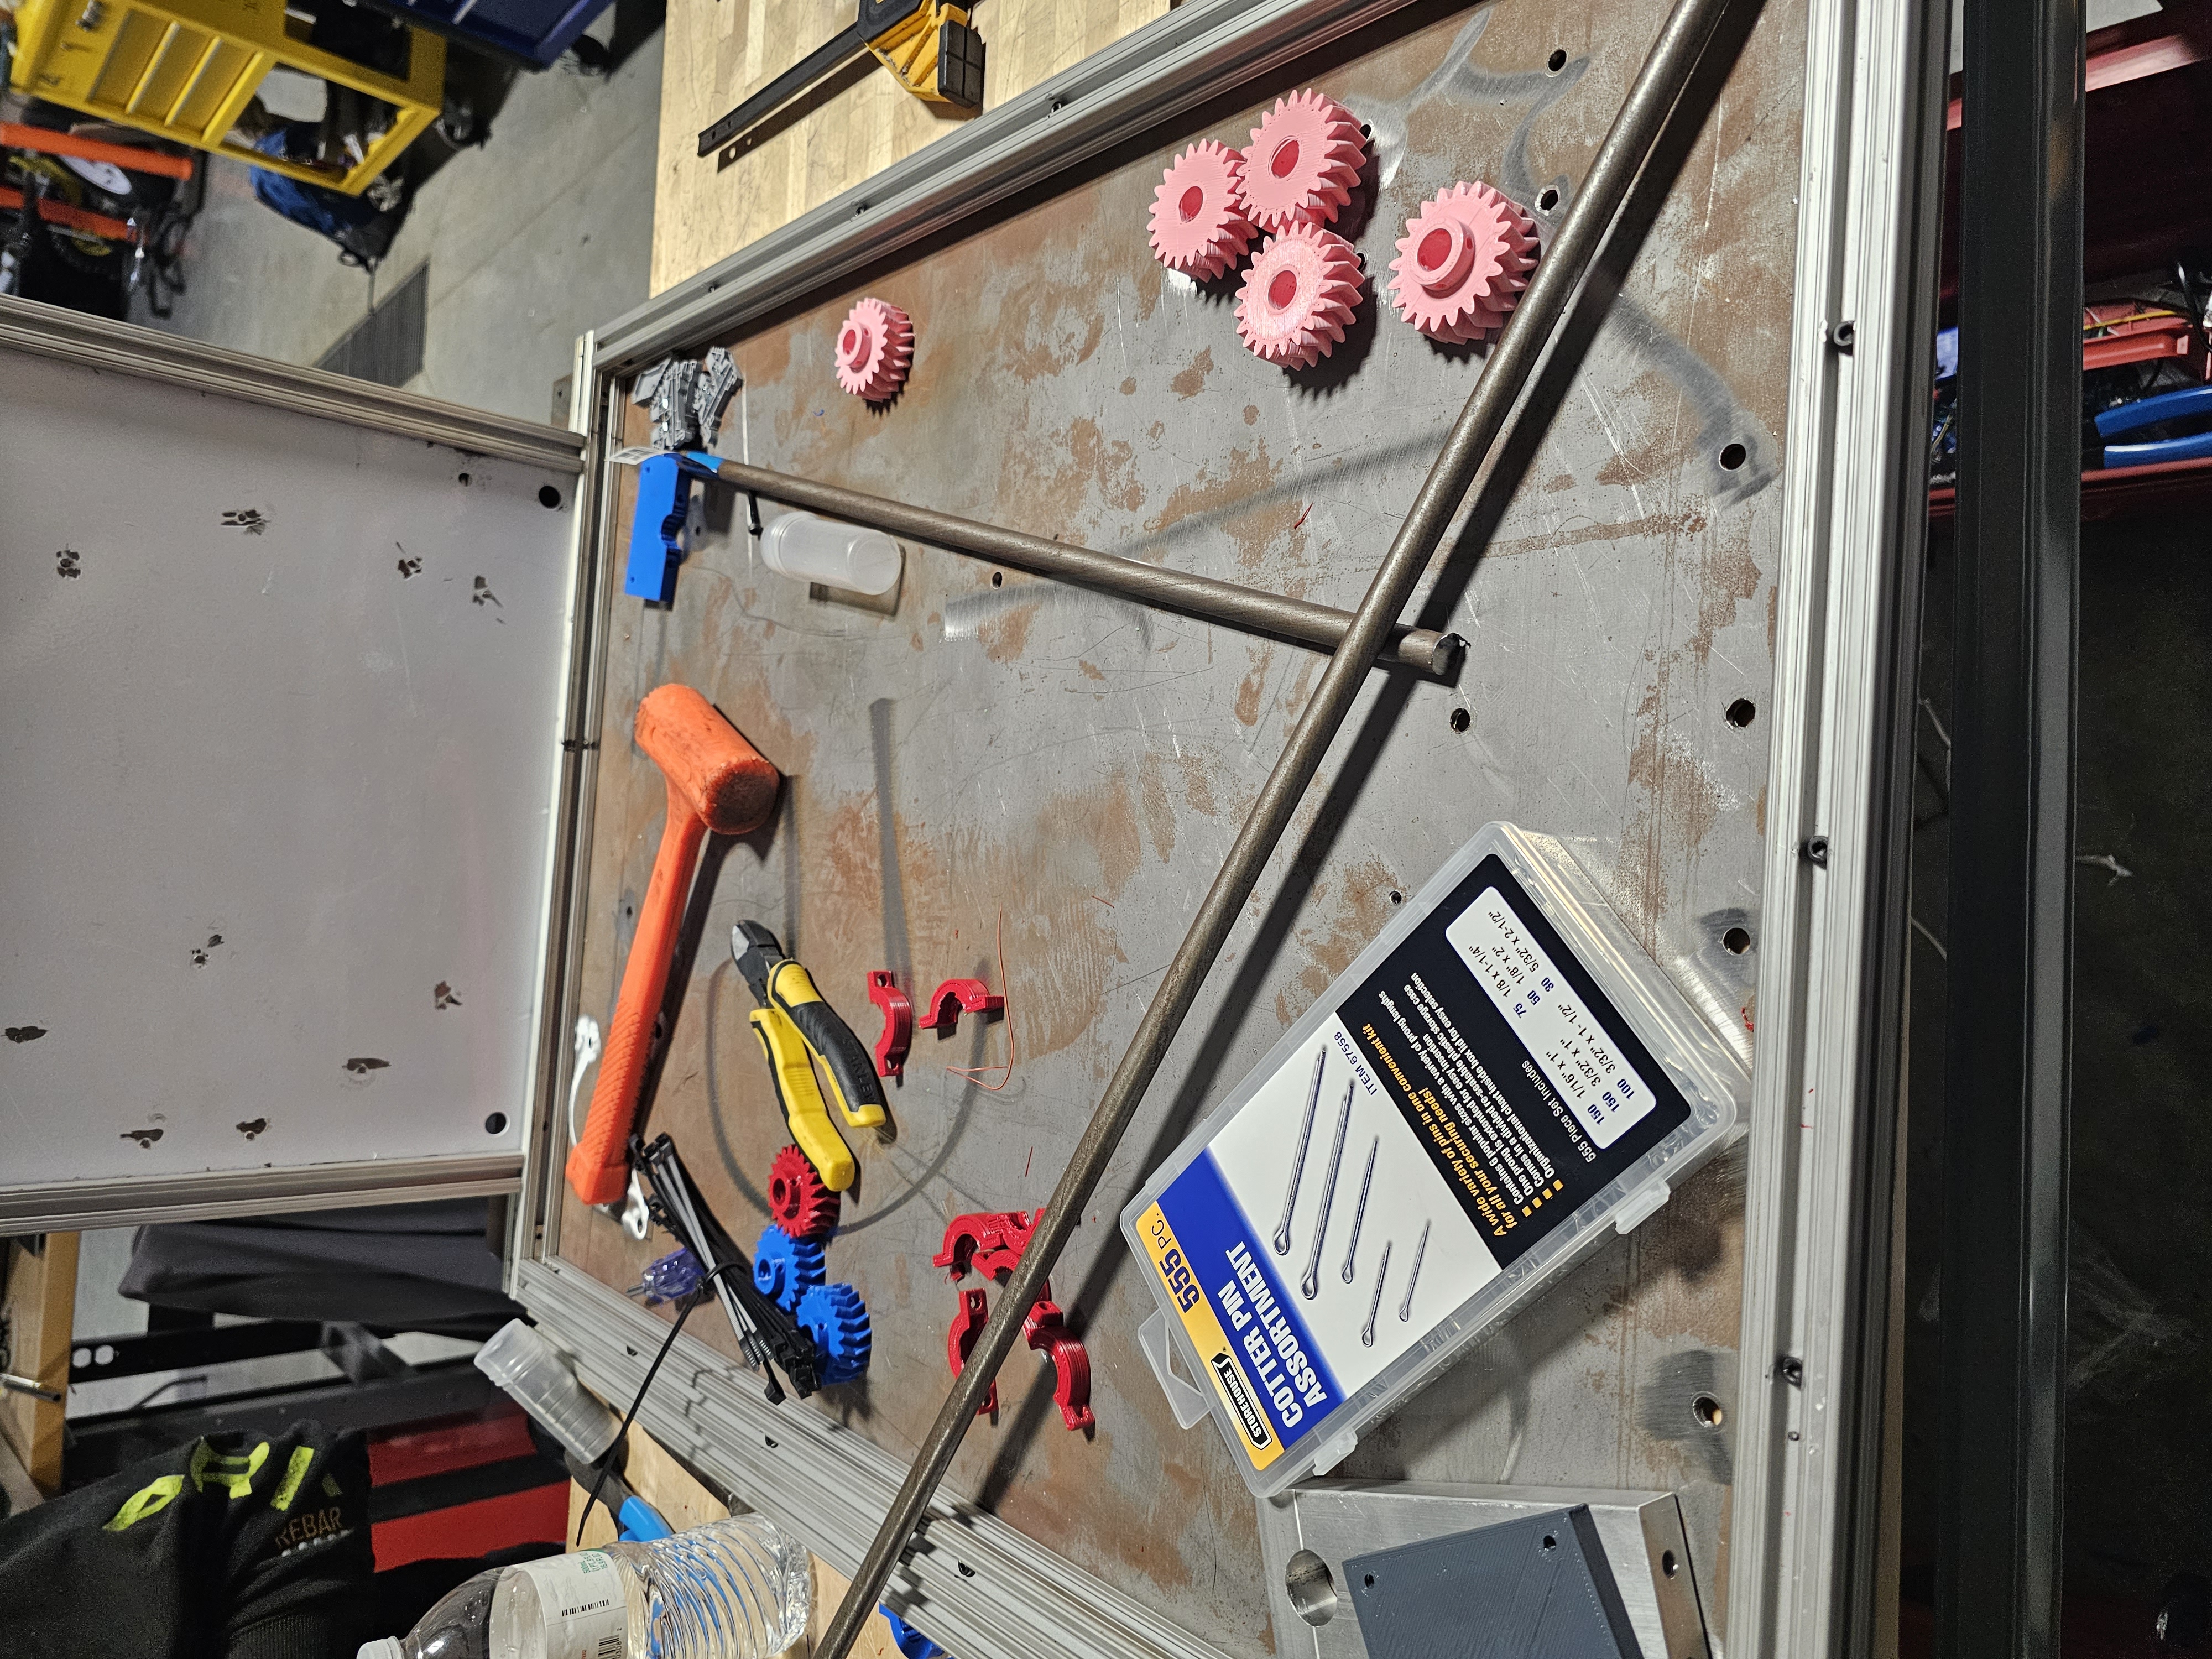
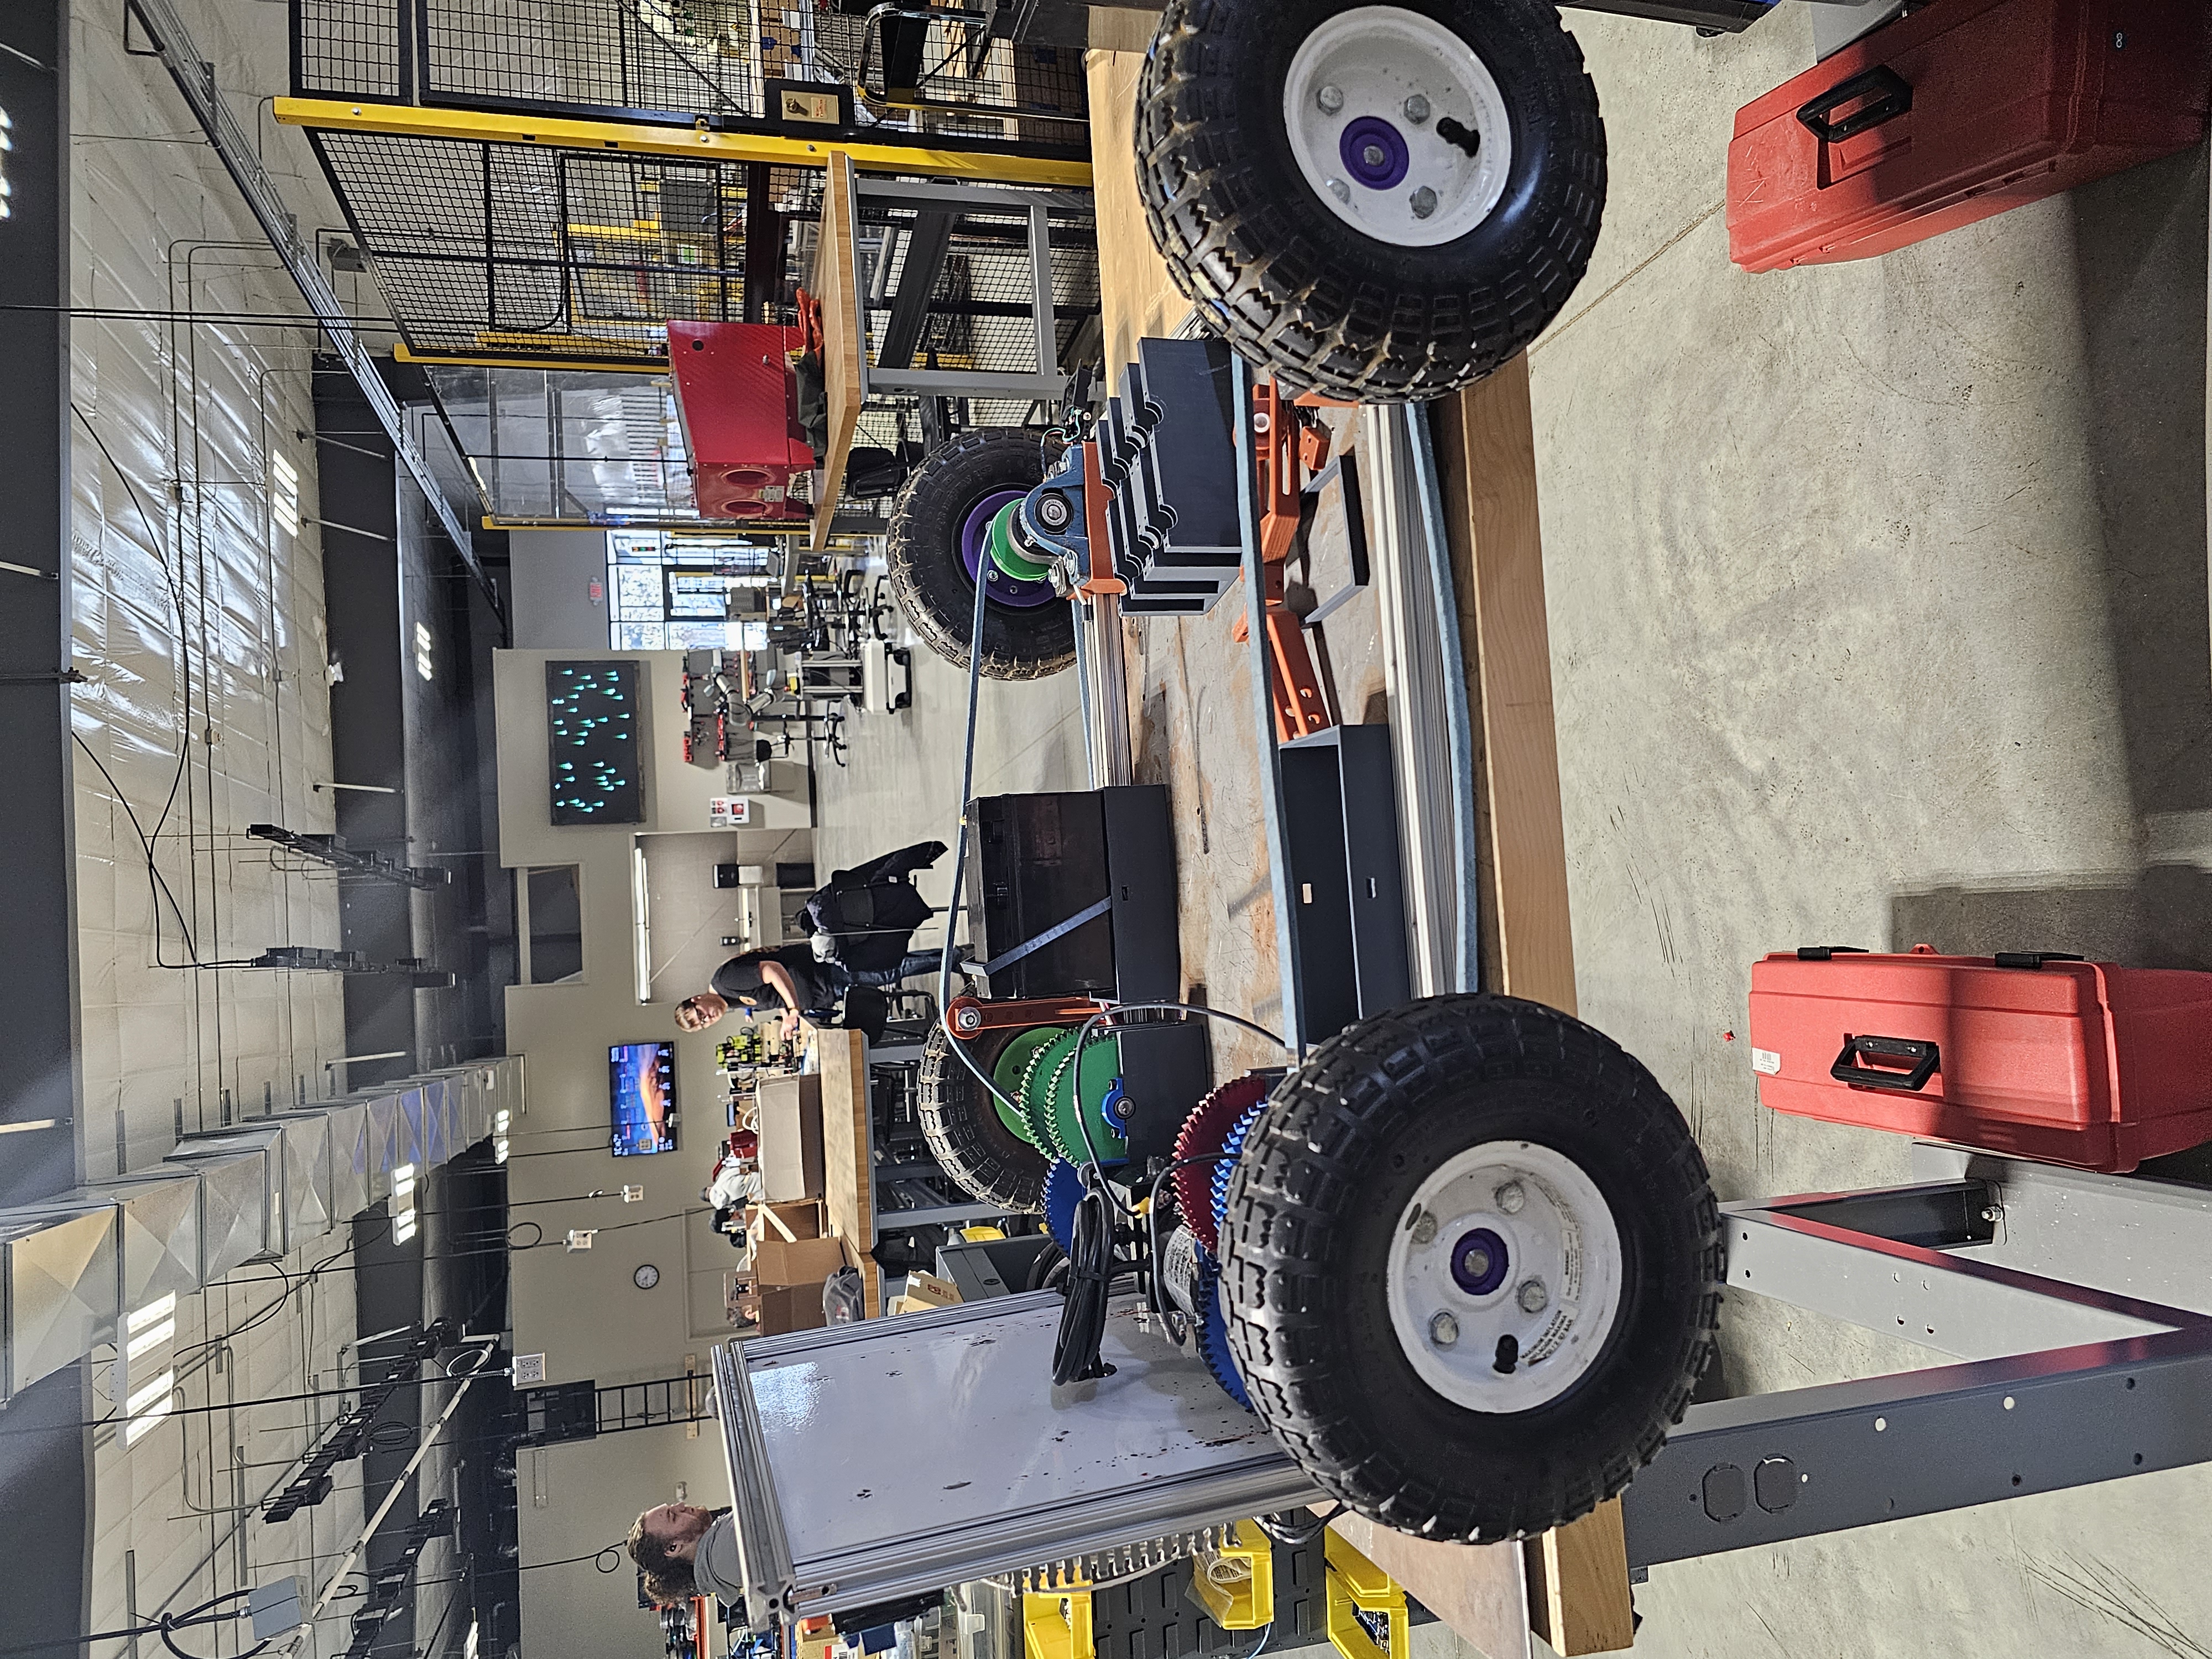
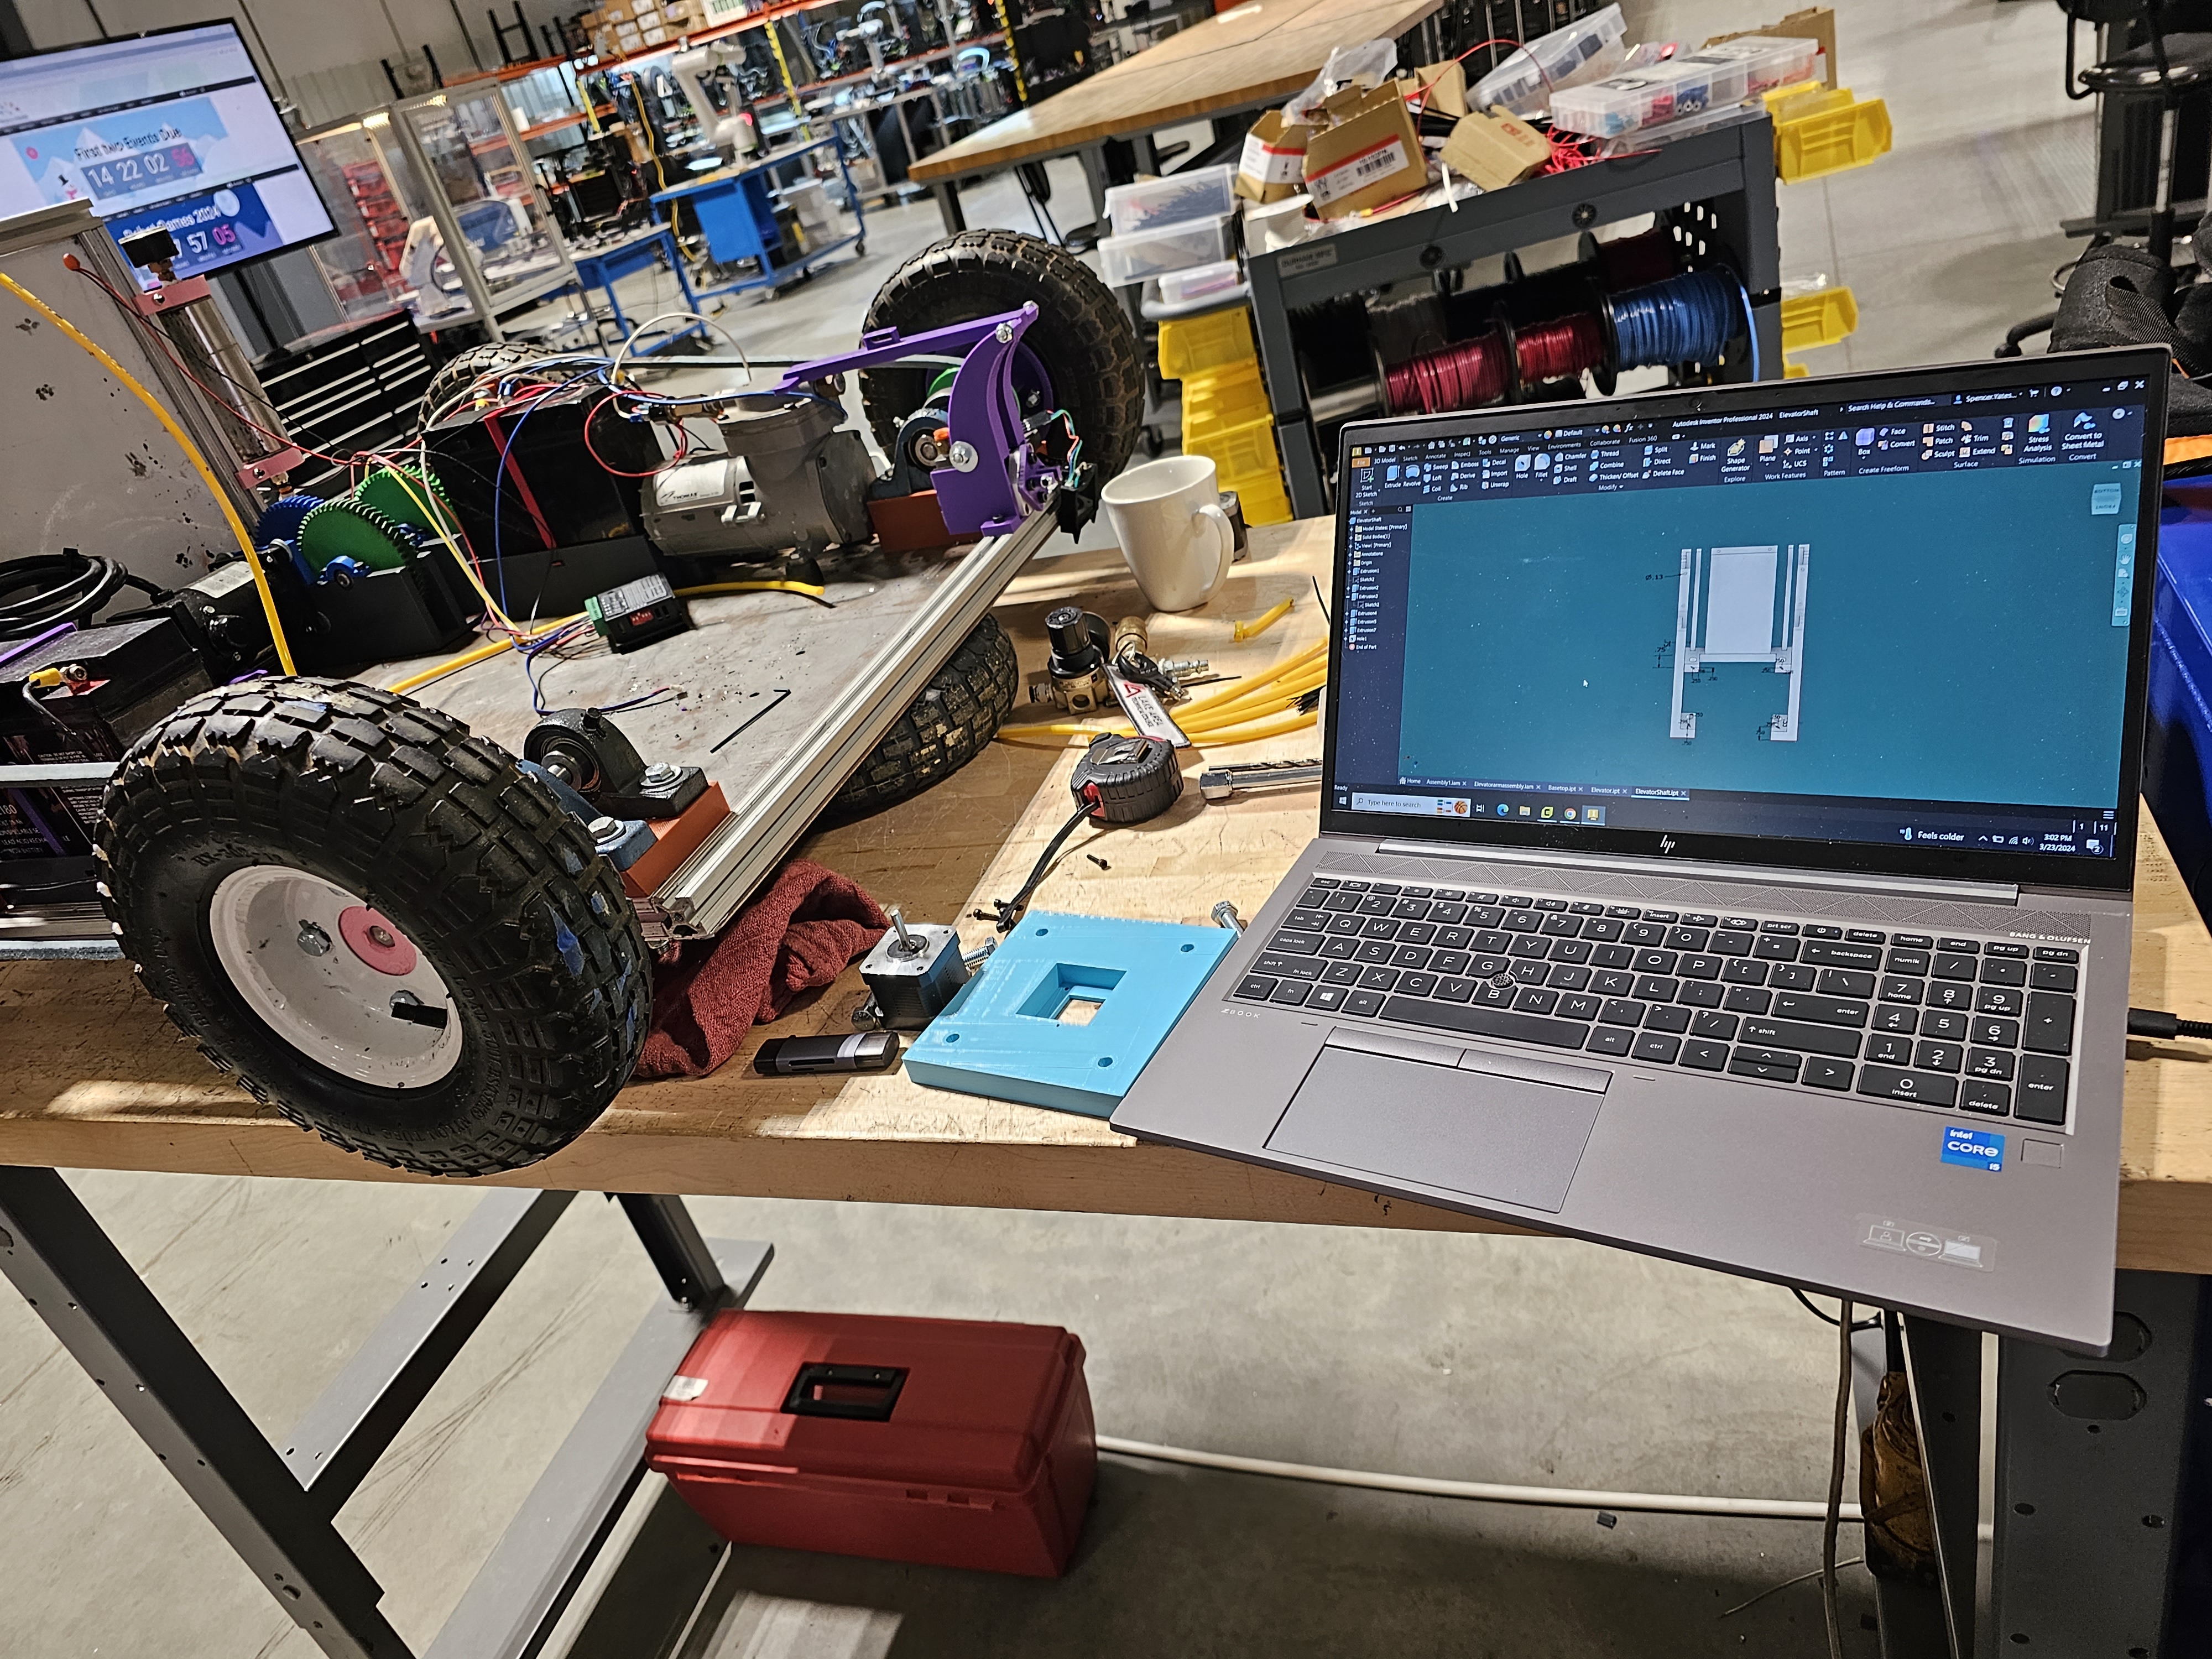
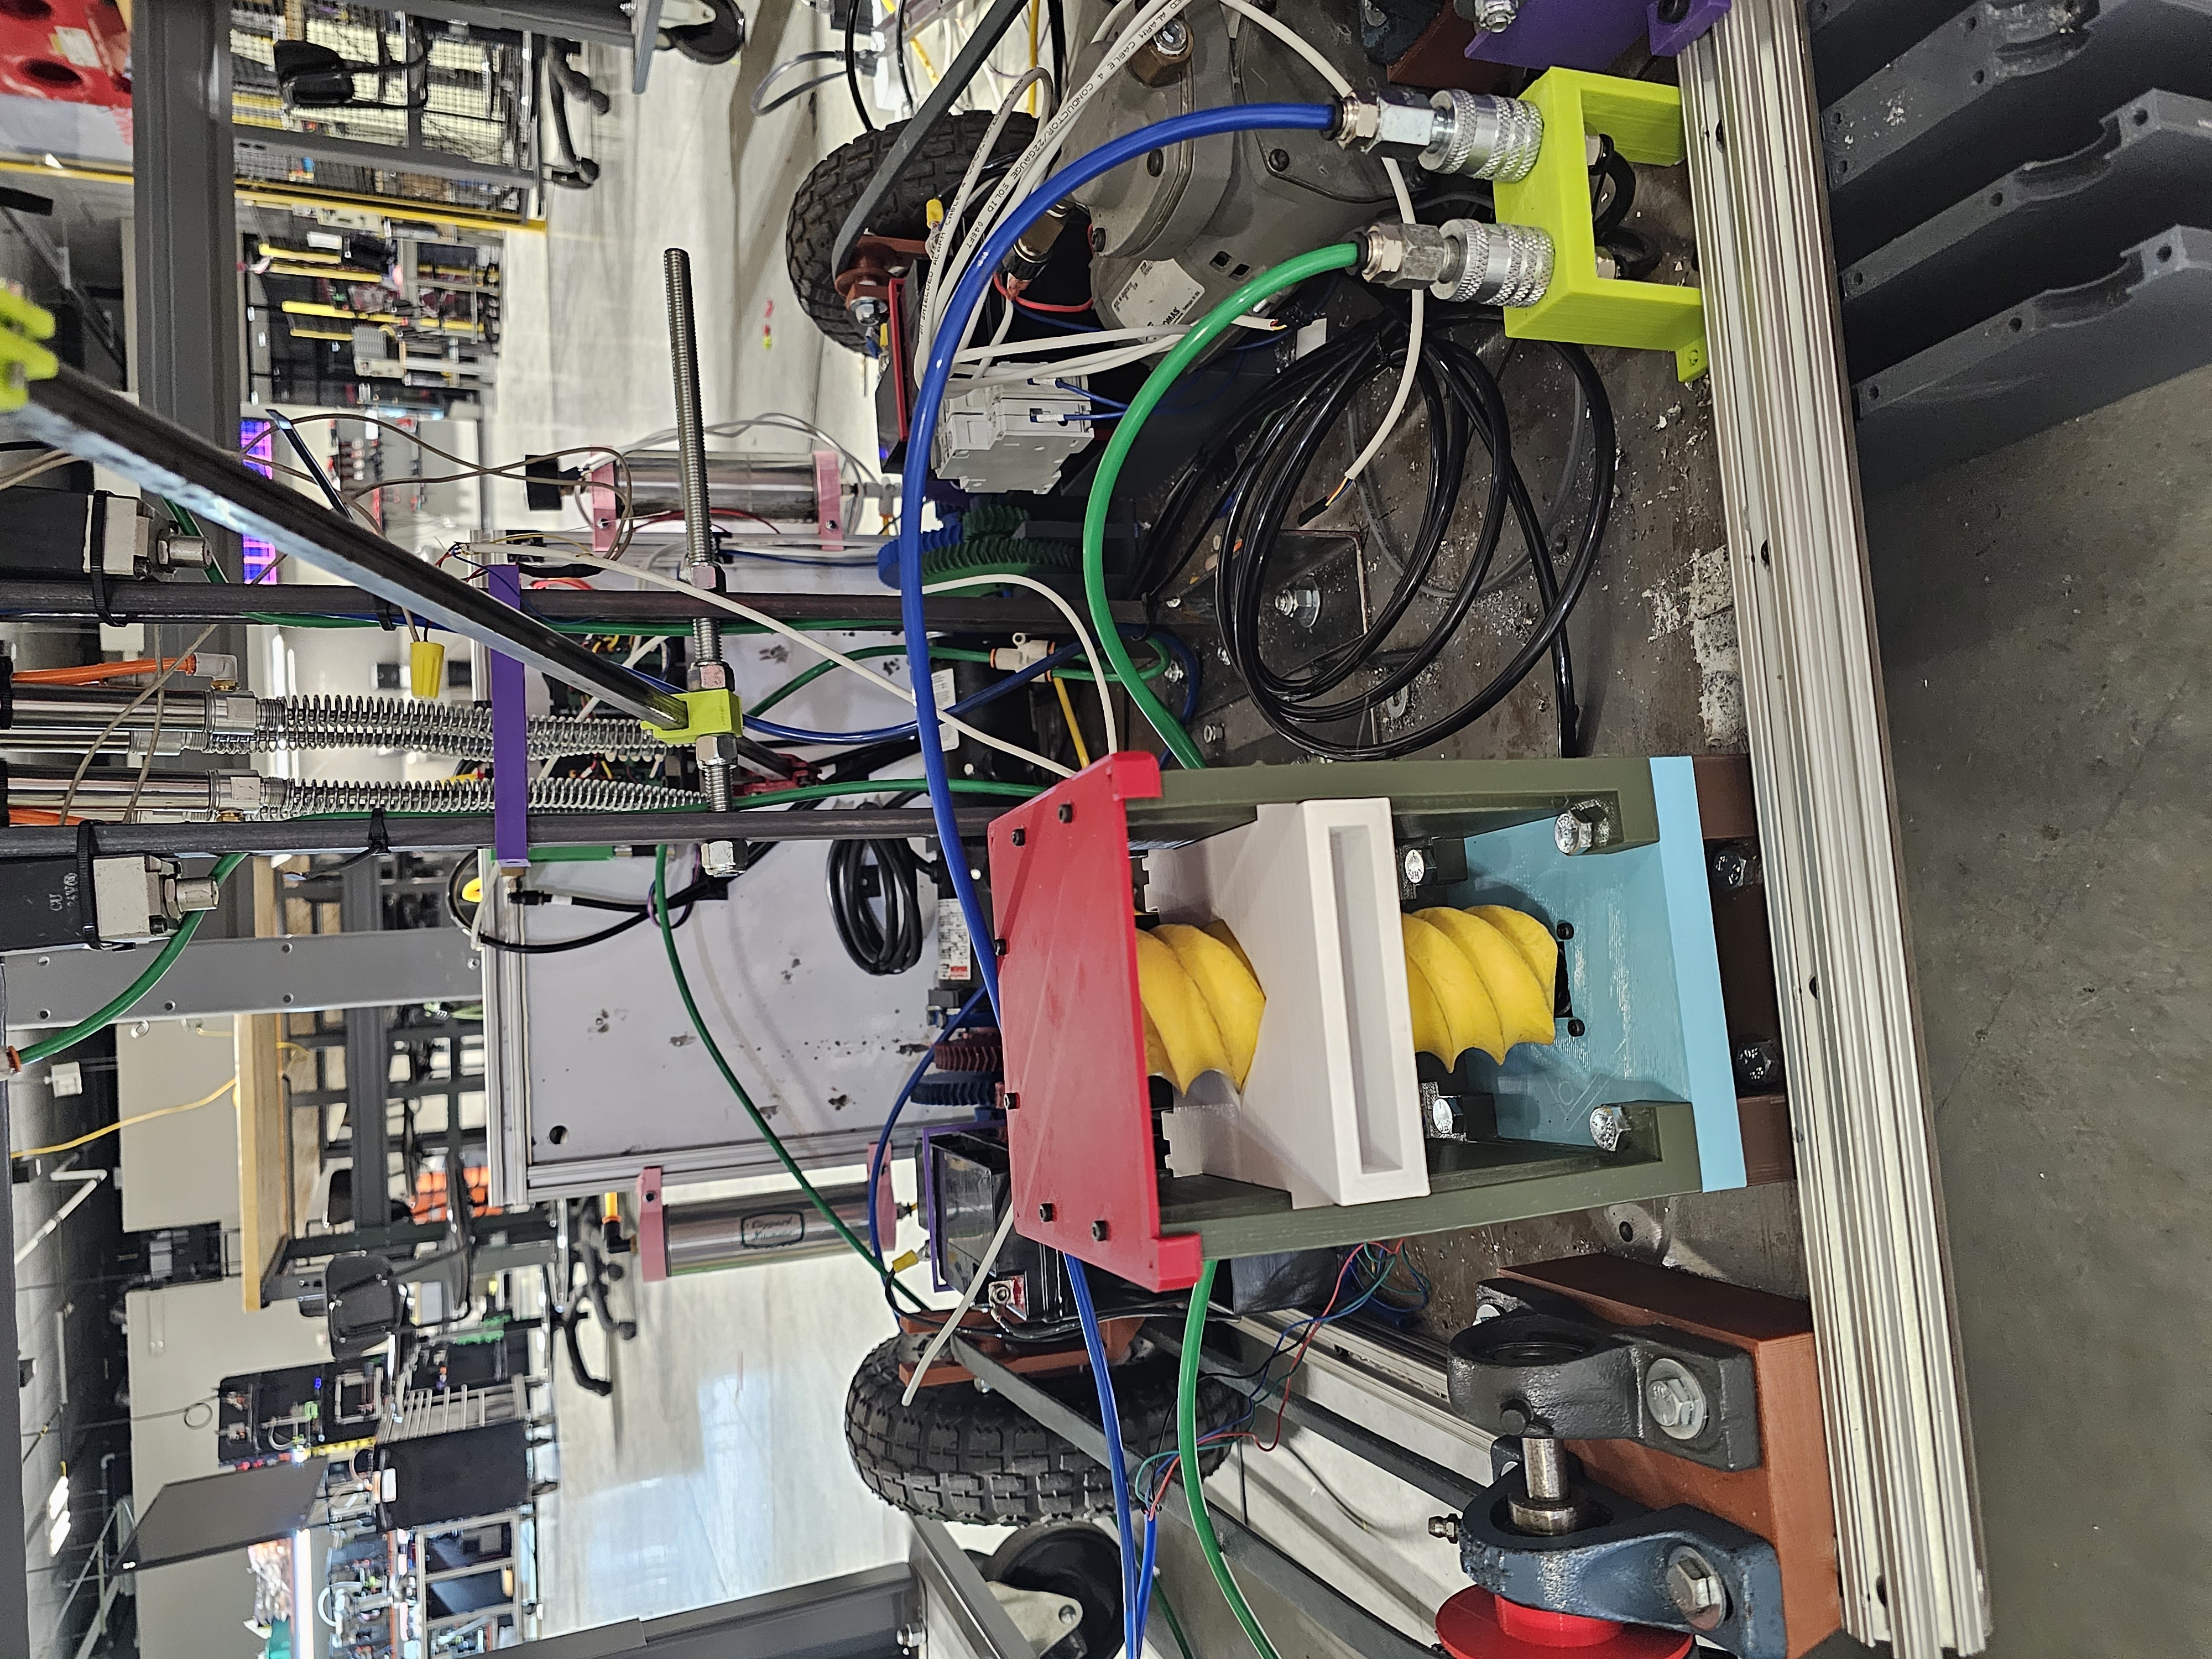
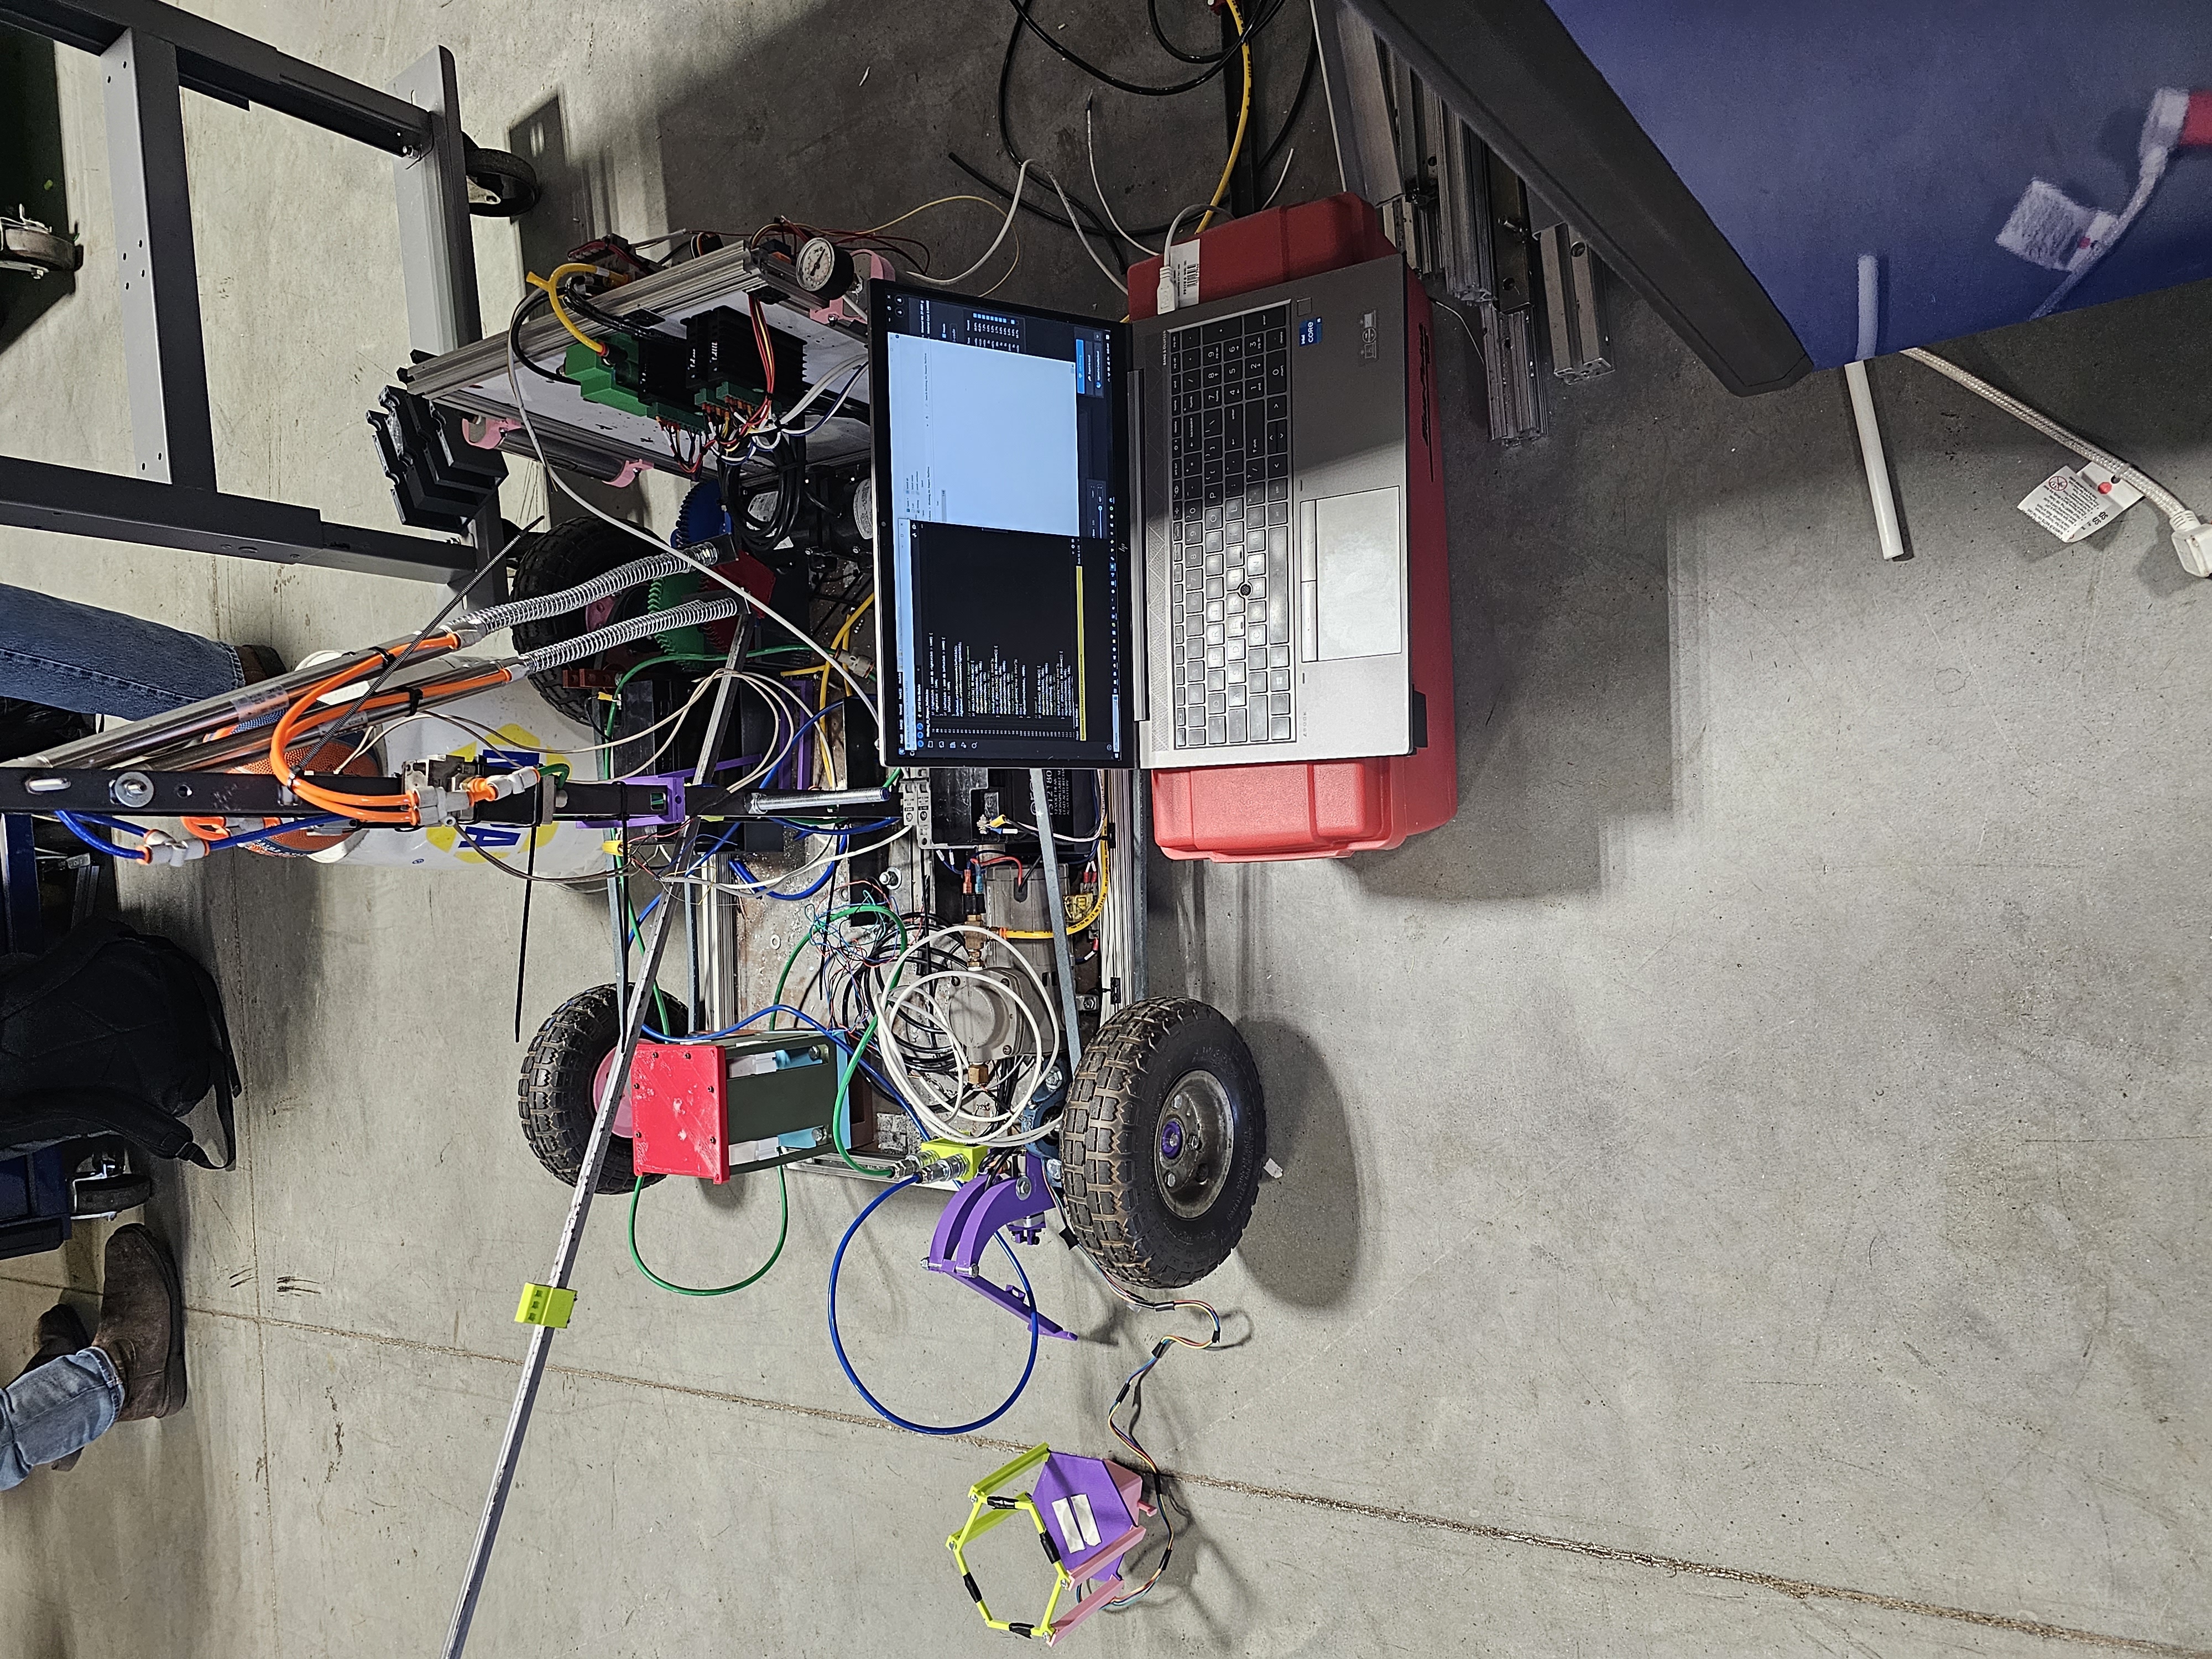
Below are several pictures from the build process of the robot. For the most part they are in chronological order.


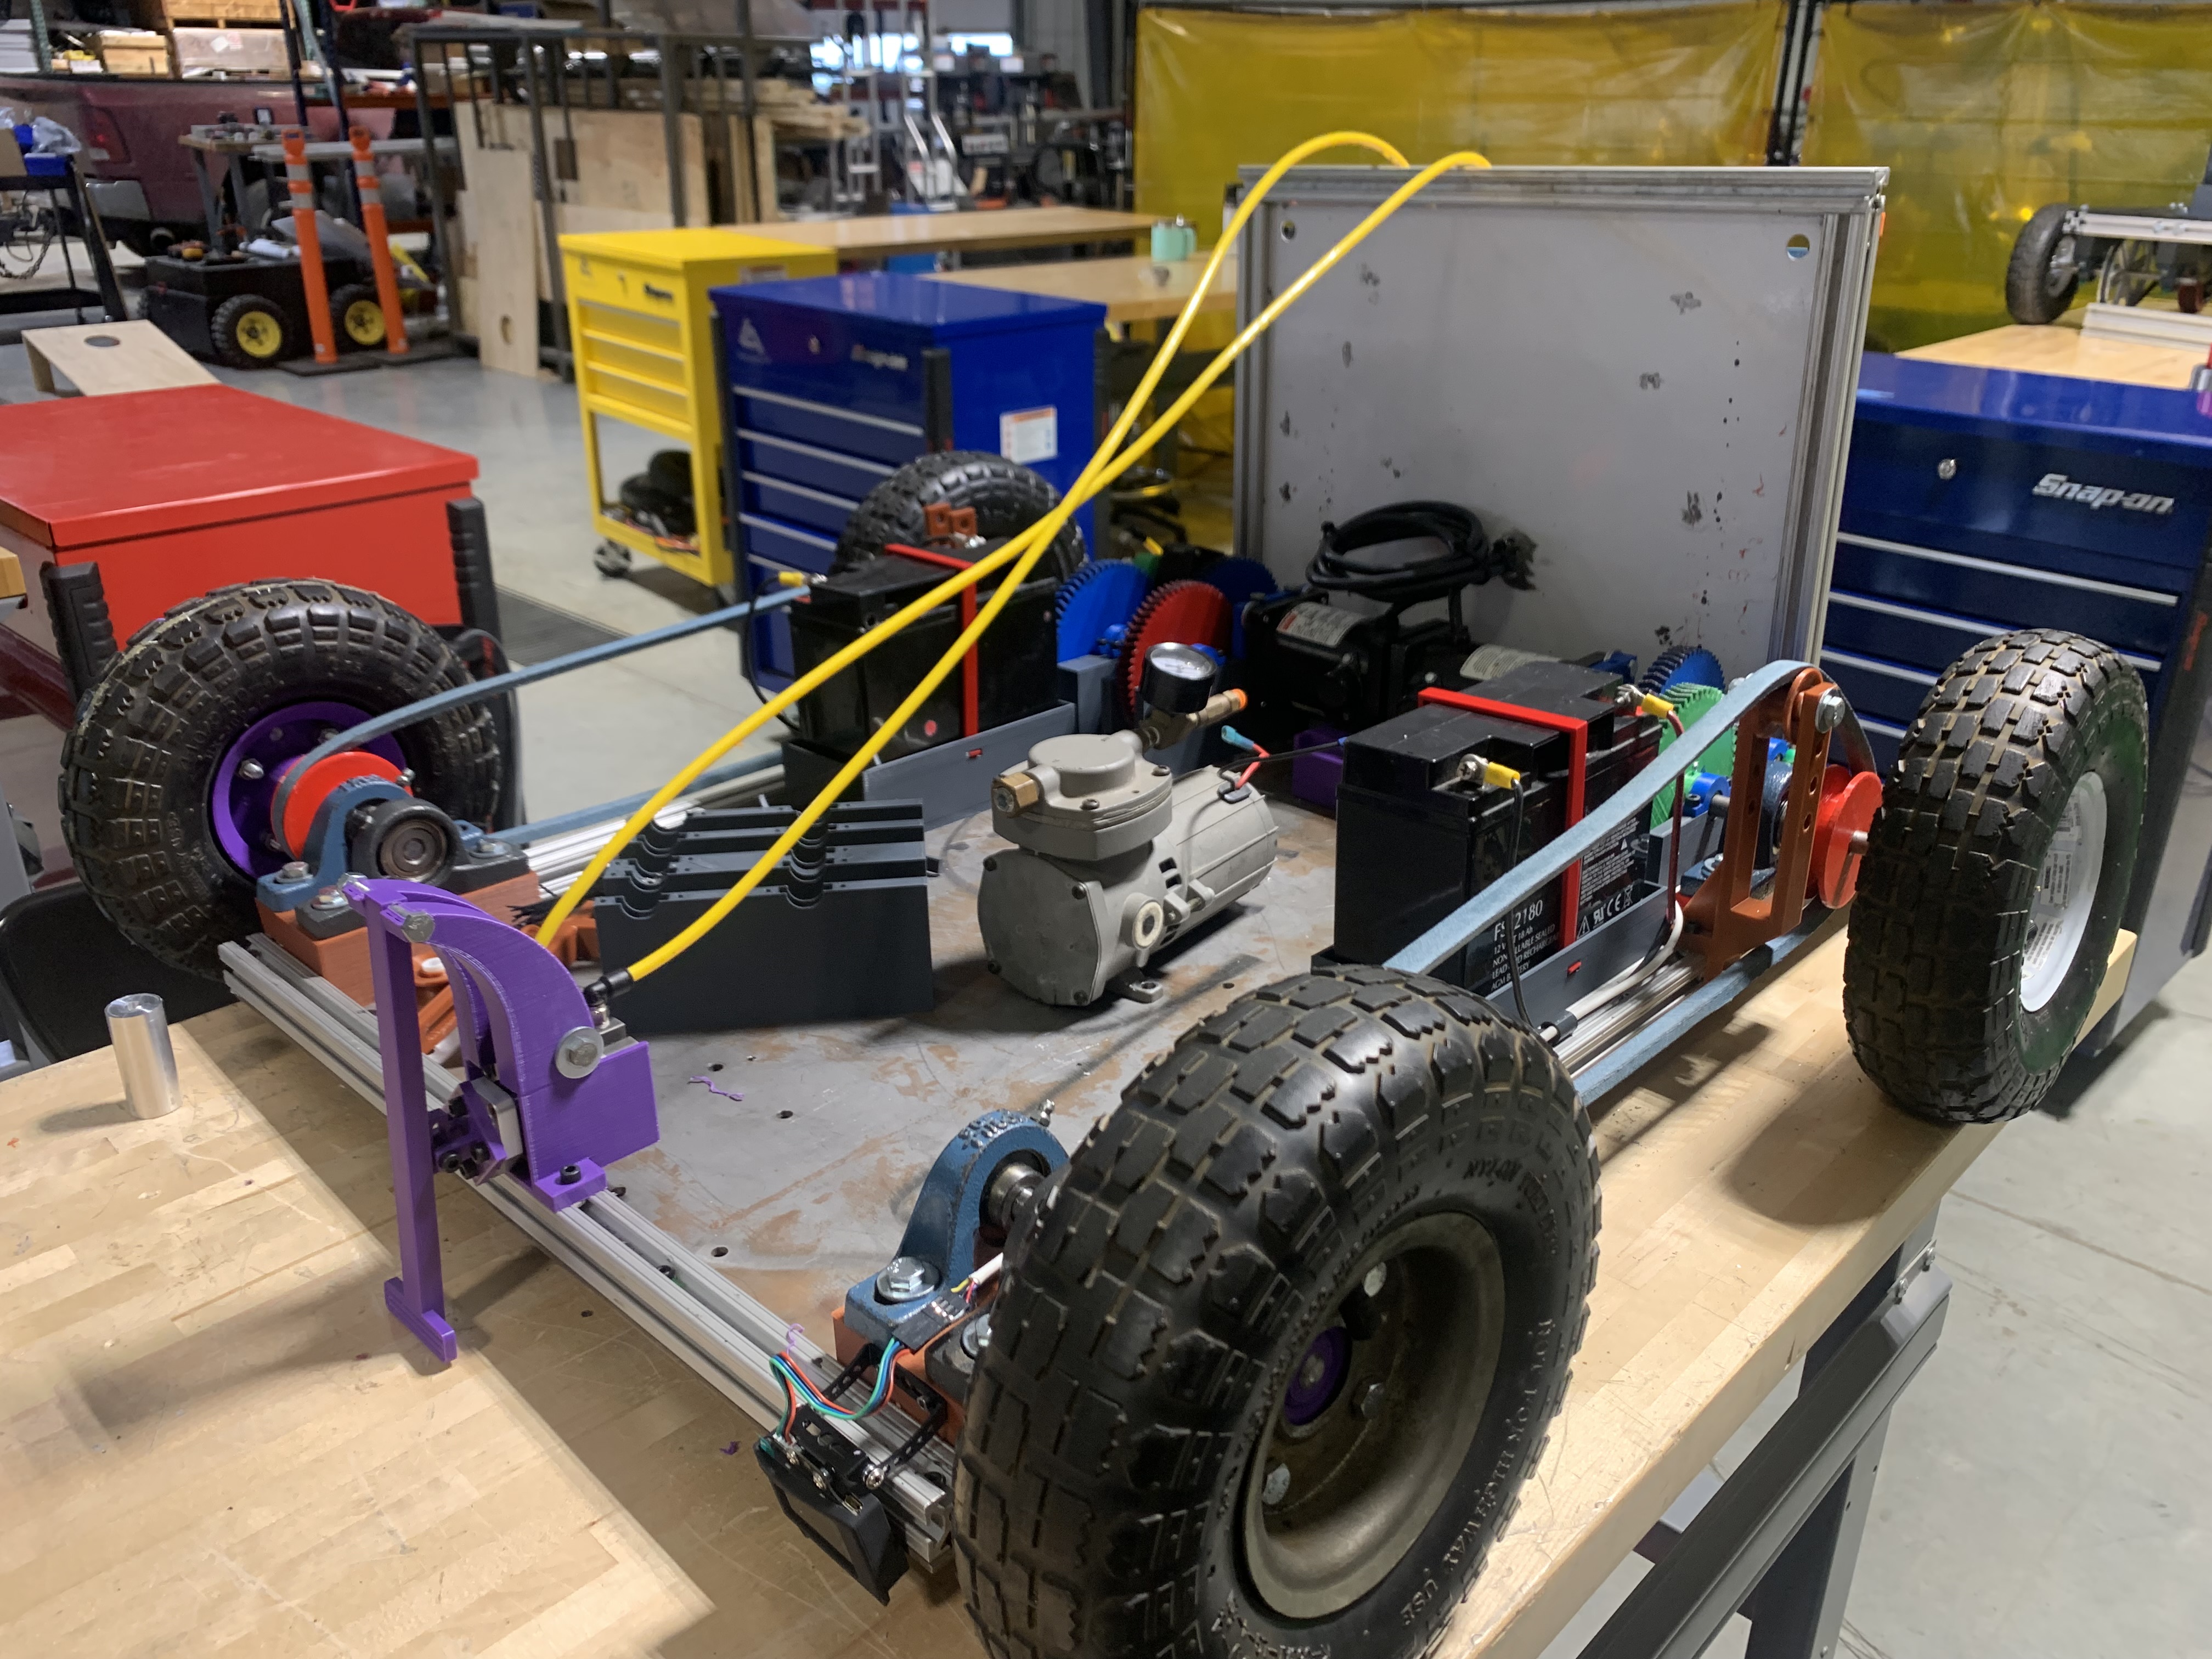

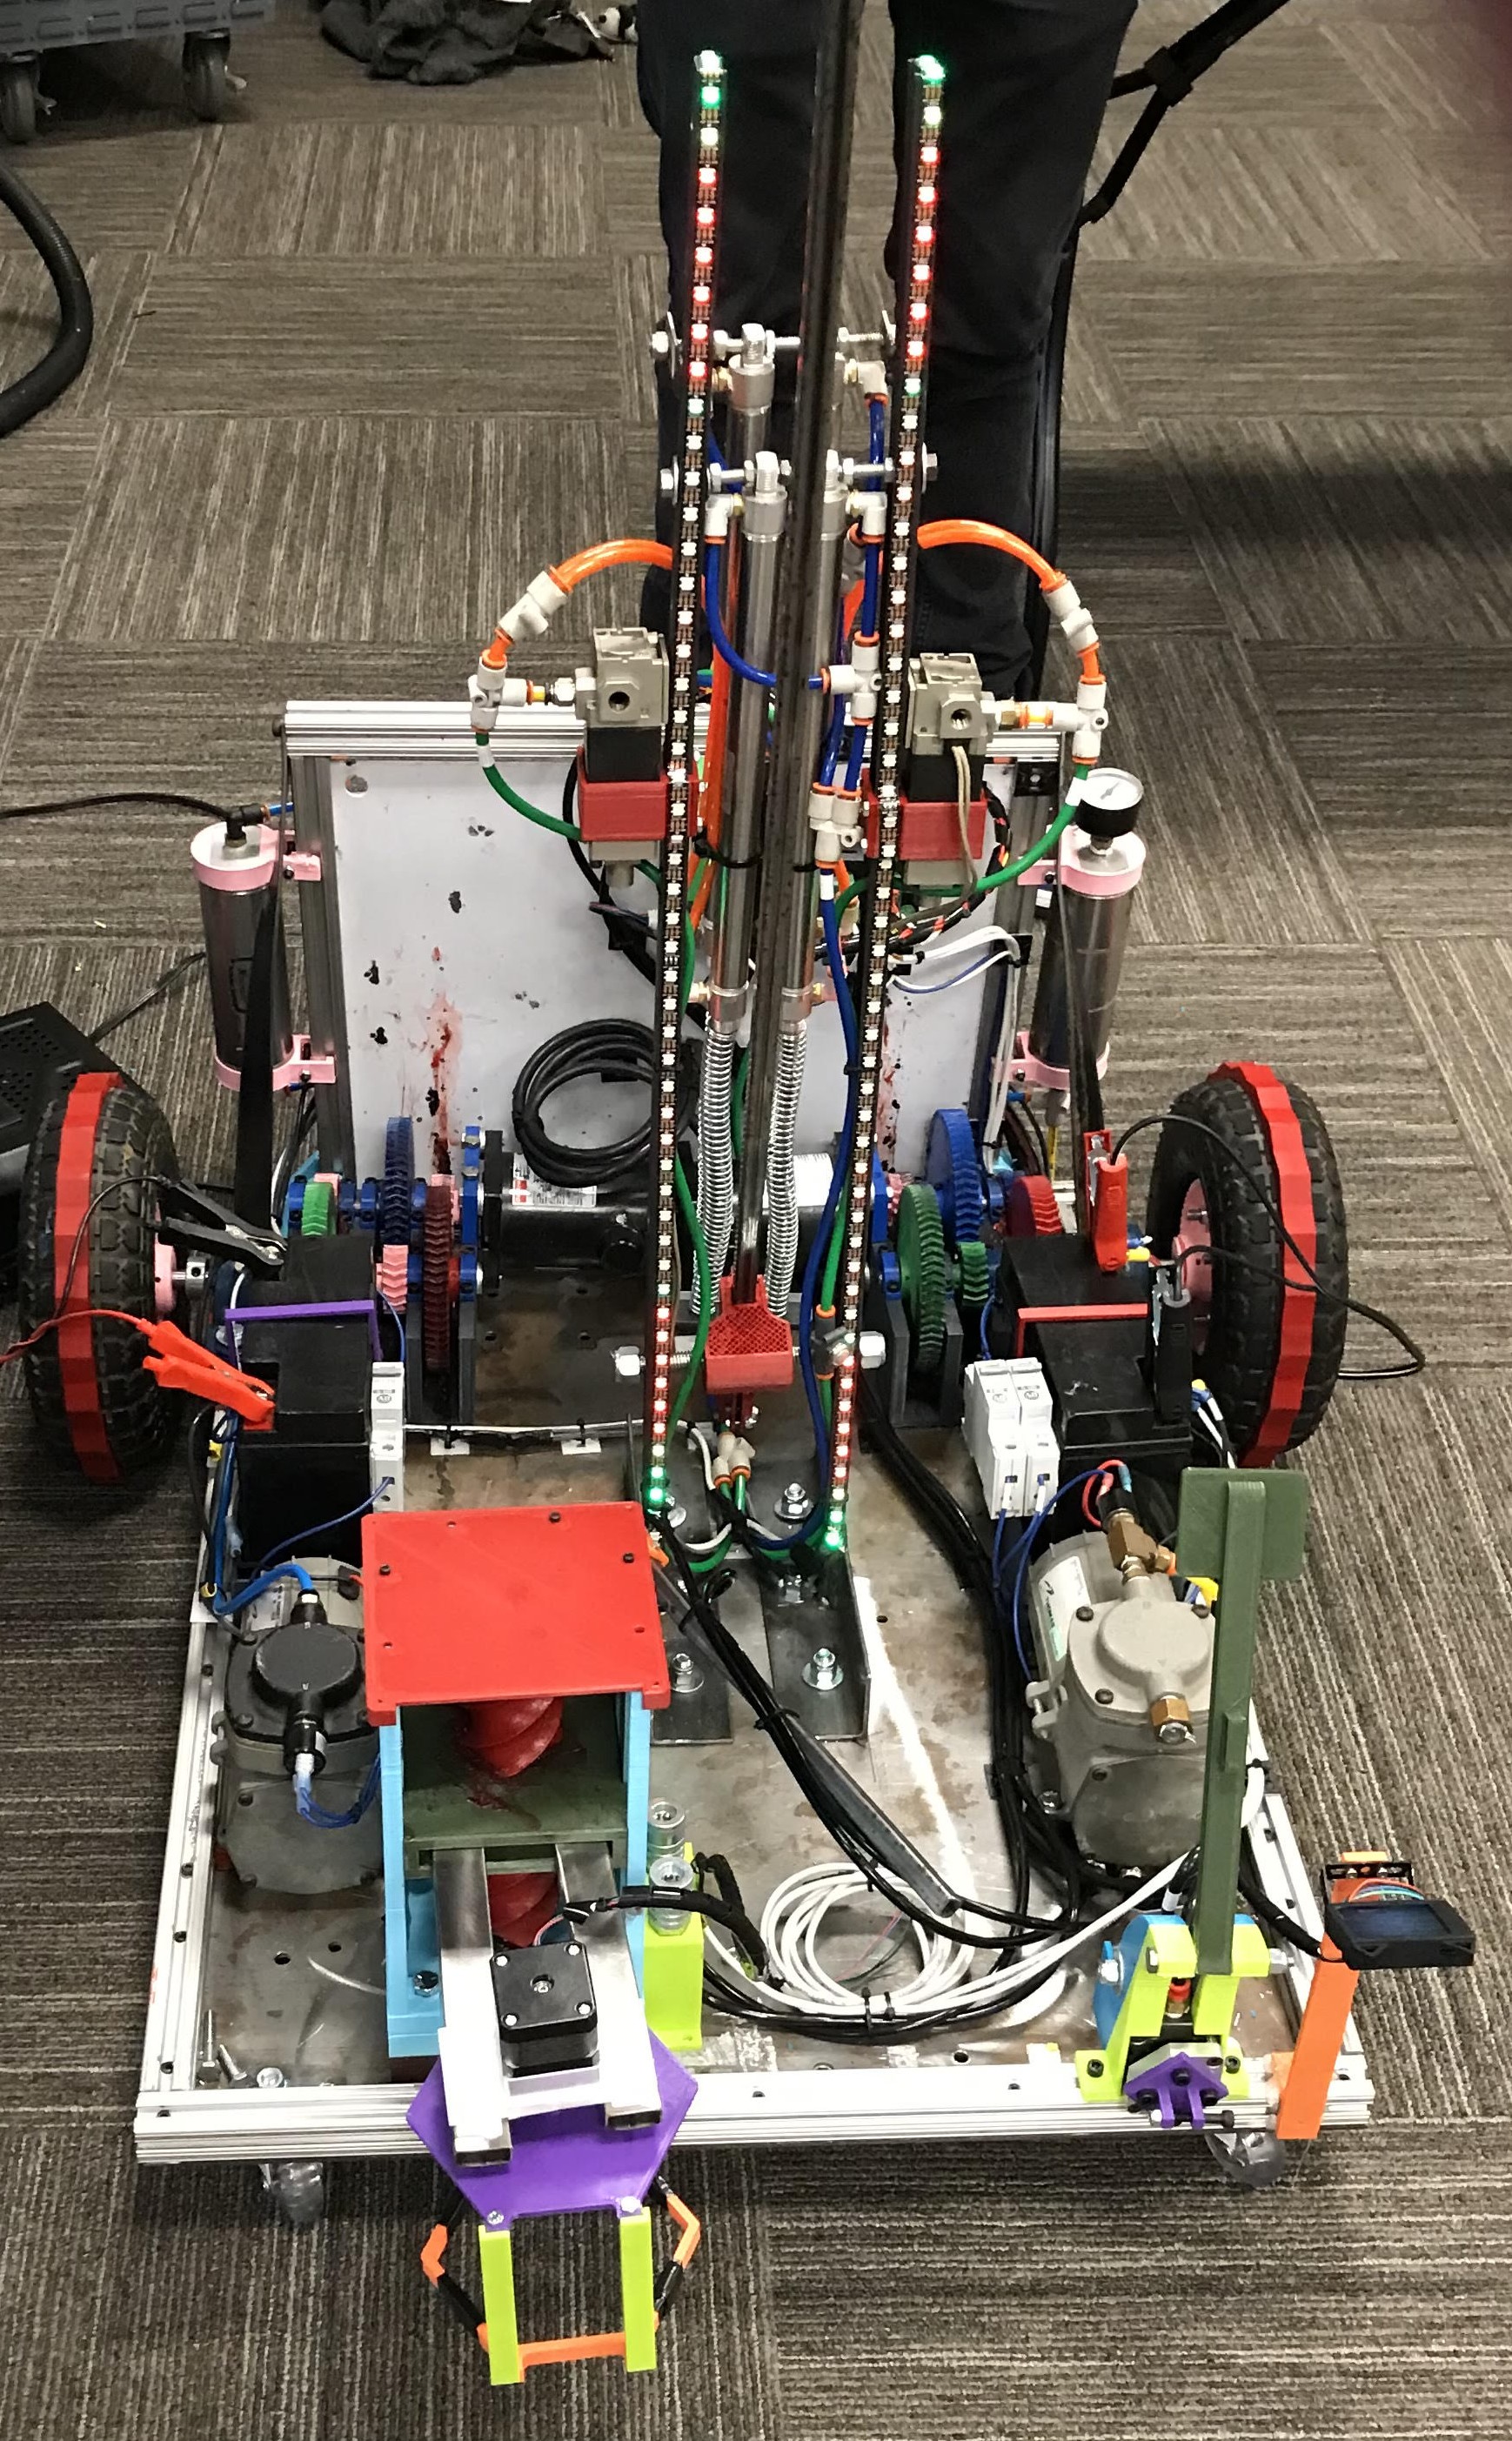
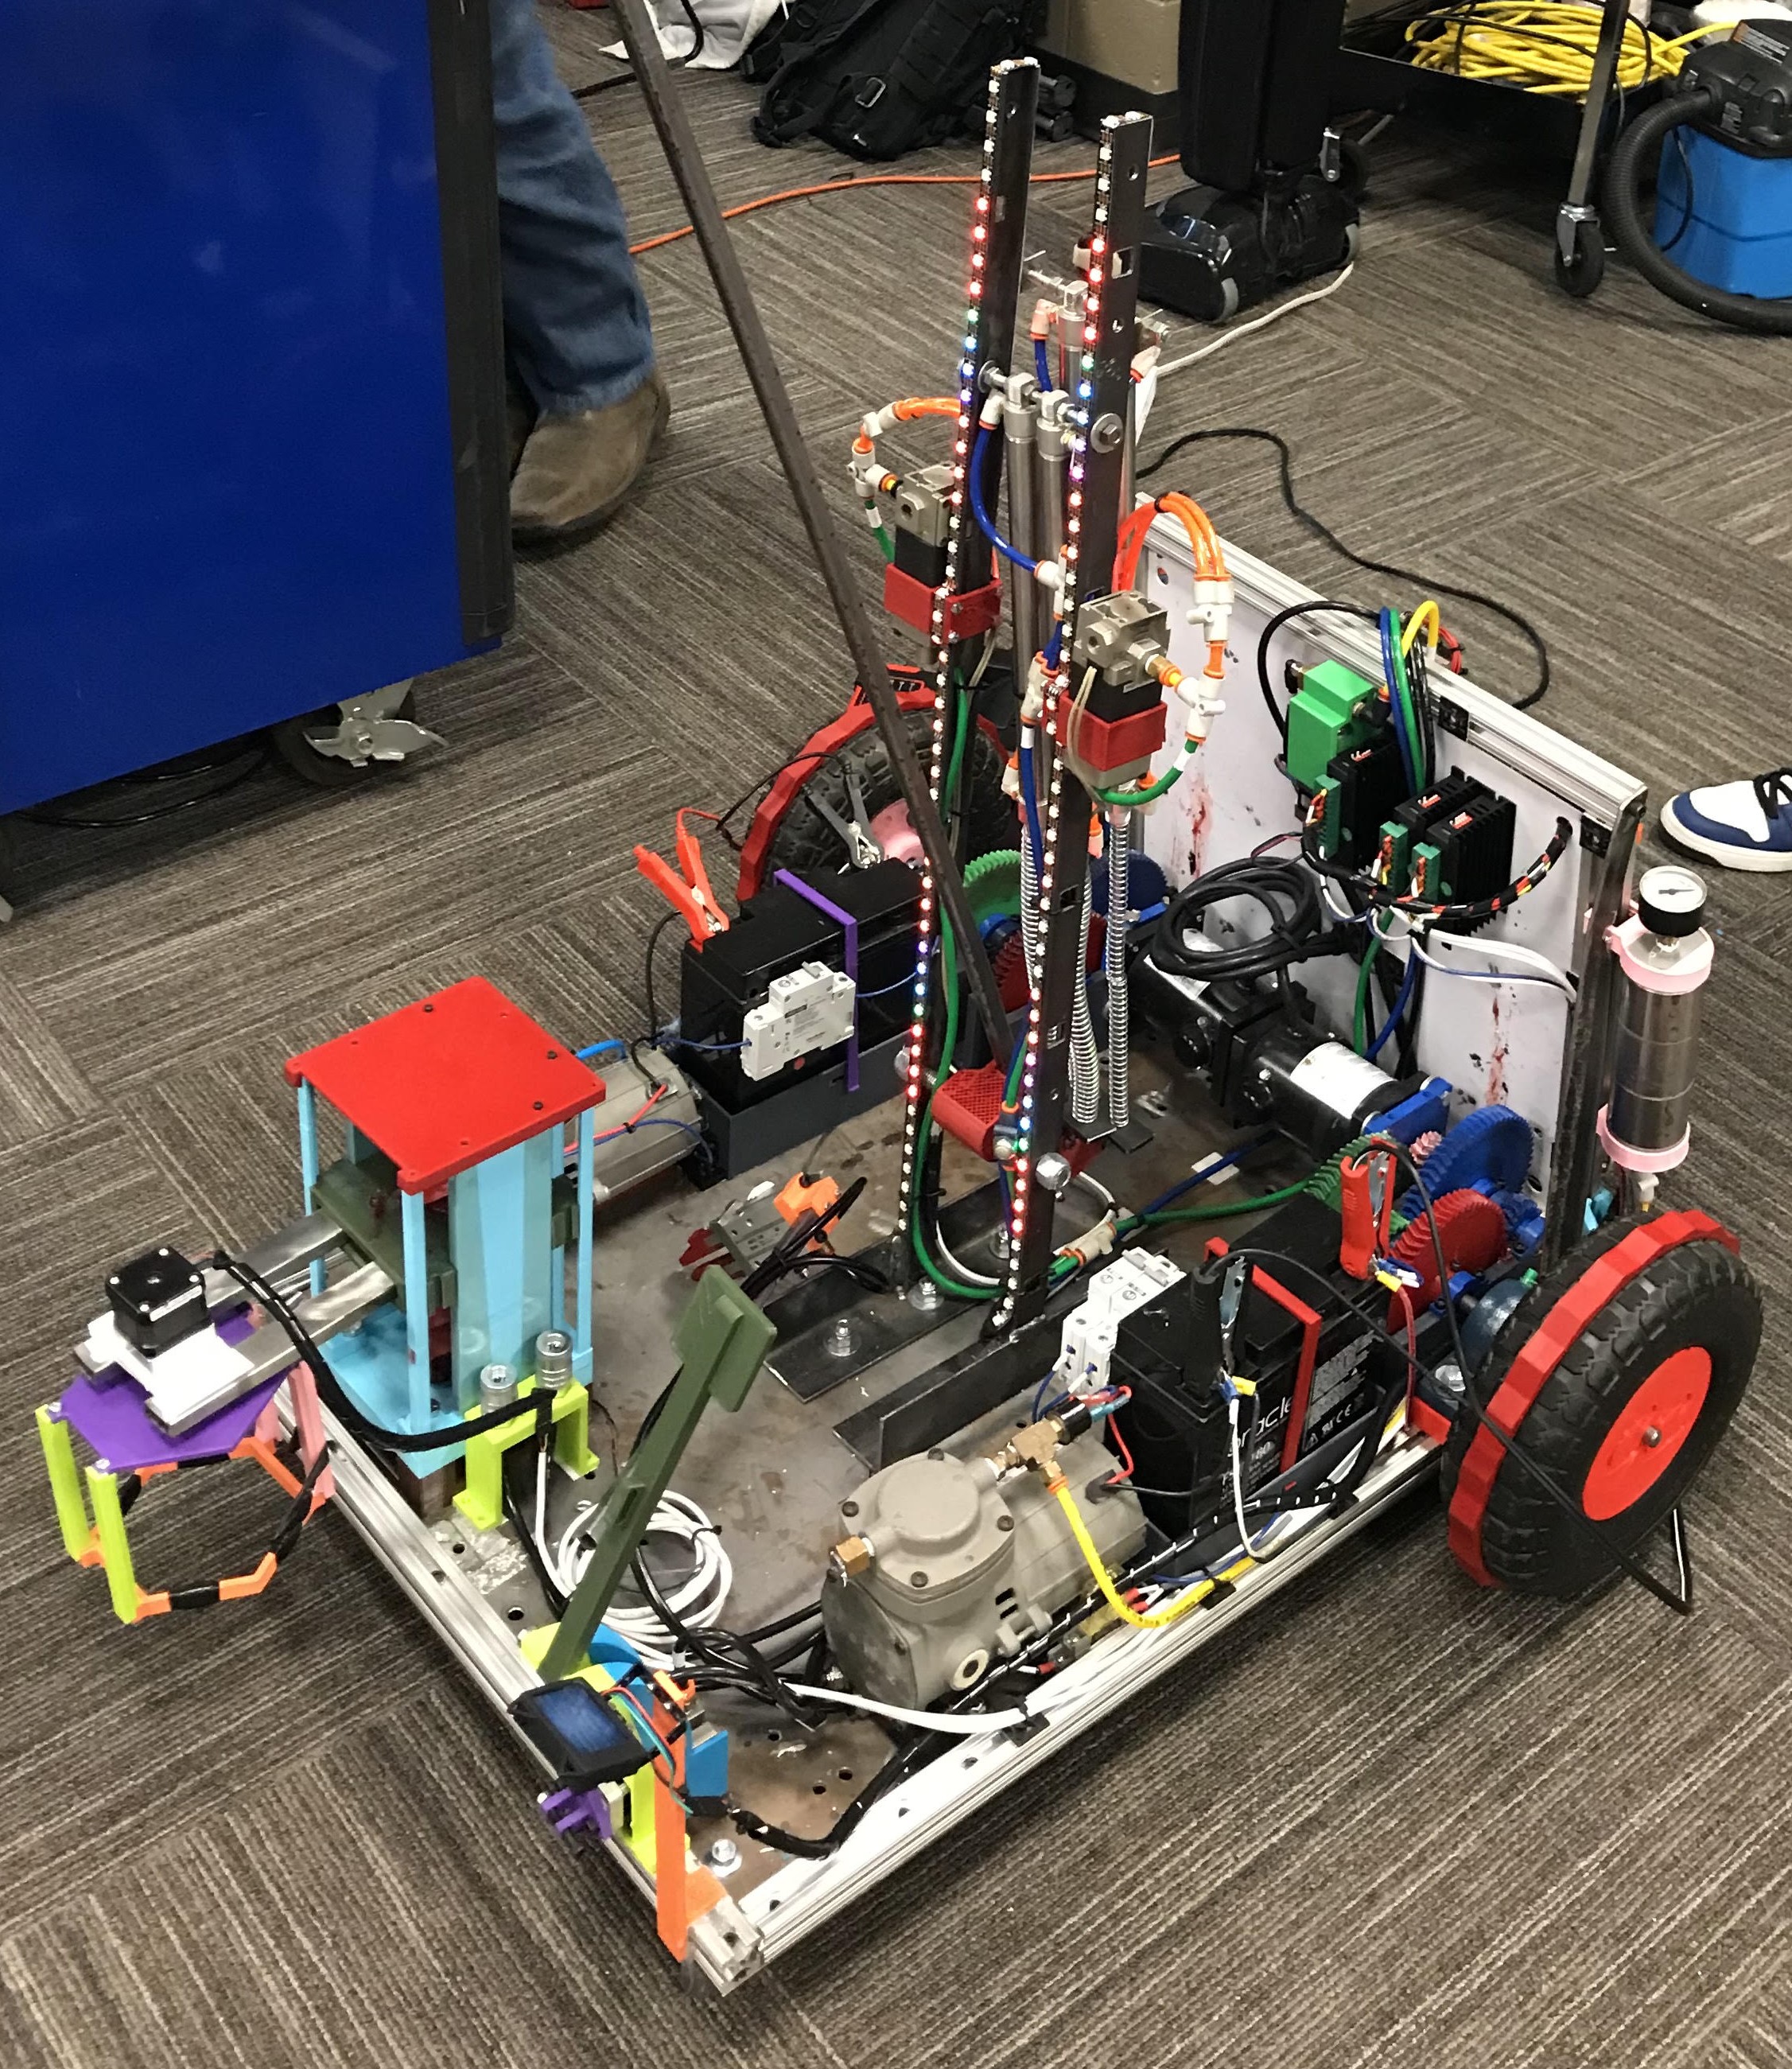
The robot boasts a minimalist yet functional design, featuring a sturdy steel plate serving as its base, providing stability and durability. Extruded aluminum is utilized as both a stiffener and main frame, ensuring structural integrity while maintaining a lightweight profile.
One notable design element is the vertical mounting of the main electrical panel on the robot's back. This strategic placement optimizes space utilization, facilitating ease of maintenance and assembly. By positioning the electrical panel in this manner, accessibility is maximized, streamlining troubleshooting and repairs as needed.
In addition to the main electrical panel, a secondary electrical breakout is strategically located near the battery compartment. This arrangement minimizes the length of wires connecting to the 12-volt equipment housed nearby, reducing potential interference and enhancing overall efficiency.p>
Overall, the robot's simplistic yet thoughtful design prioritizes functionality and practicality. The combination of steel and aluminum not only ensures structural strength but also underscores a commitment to reliability and ease of maintenance. With its efficient layout and optimized electrical setup, this robot is poised to excel in various applications while offering ease of maintenance and assembly."
Midway through the semester it was decided that we would like to attempt to model the robot somewhat off of a white steam car. Due to time constraints not all of the ideas for the cosmetics of the robot came to fruition, but there were several placements of mechanisms that were decided to assist with the overall look of the robot.
In the end, we were able to compete in the Robot Games and complete all of the challenges within the time limit. There were several late nights leading up to the games, and several last minute changes and additions due to parts breaking and changes in the game rules. We removed the four wheel drive the day before the games, and had to add spacers the the rear wheels due to the casters we replaced being larger than the previous ones, removing our ability to climb the hill, and we had several parts break during the first day of the Robot Games.
During our repair day between the games we redesigned how the drive wheel connected to the gearbox and added weld on collars to the rims, since we were no longer breaking the gears, and that drastically changed how we were able to compete, with less risk of shearing a cotter key.
After completing both days of Robot Games there were still several things we wished we had time to change and improve that we had found had deficiencies during the games, which should allow us to improve upon further projects in our careers, and open us up to more learning.
In the end, it was a fun project that taught us a large amount of skills, such as project management, programming, design and implementation, and even some physics.
One of our largest challenges was getting our drivetrain to work consistently. We struggled through multiple different iterations of gears after mounting the gearboxes due to multiple different failures that were not evident when we first designed the drivetrain.
We also struggled with the basketball launching system. We originally tried using air cylinders, but struggled with releasing air fast enough to get a far enough throw. After that we attempted using springs and bungee cords to get a faster release, but found that we were binding and were unable to keep a consistent amount of force on the arm. After that we went back to air cylinders but added springs to increase the force when launching, and added dump cylinders to let the air escape from the cylinders with less restriction than routing it back to the solenoids before releasing.
Below are two pictures taken during the last day of Robot Games, showing the final form of the Clockwork Coalition Robot.